Lab 3 : How to deploy your apps
Objective: In this lab, I learned how to deploy applications using different orchestration methods. I explored server orchestration, virtual machine orchestration, container orchestration and serverless deployment in order to understand how applications can be deployed, updated and scaled. This lab really helped me compare and understand when to use these different approaches.
Part 1 : Server Orchestration with Ansible
The goal of this part is to orchestrate servers. This means :
- Provision EC2 instances and configure them automatically
- Deploy an application
- Add a load balancer
- Perform rolling updates
Step 1 : Set up the Ansible Environment
I created the necessary directory structure and I installed the required Ansible collections and configured AWS credentials for Ansible using the option 1 presented in the lab : aws configure.
Step 2 : Creating EC2 instances with Ansible
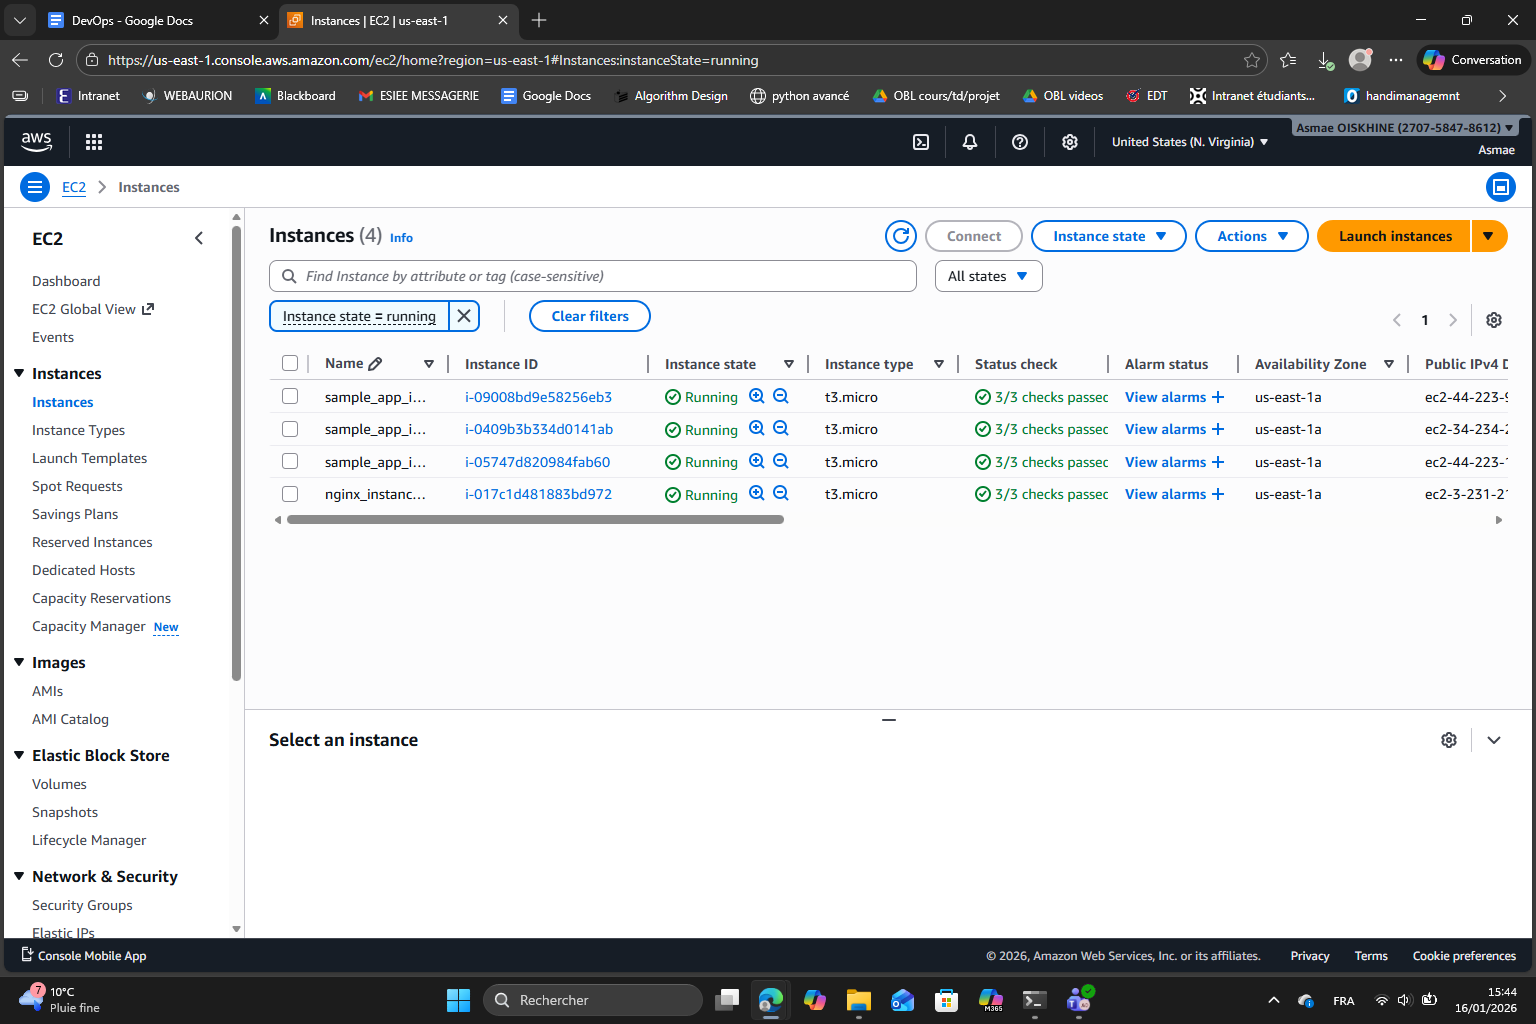
After I successfully ran the Ansible playbook to create the EC2 instance, I verified the instances in AWS management console :
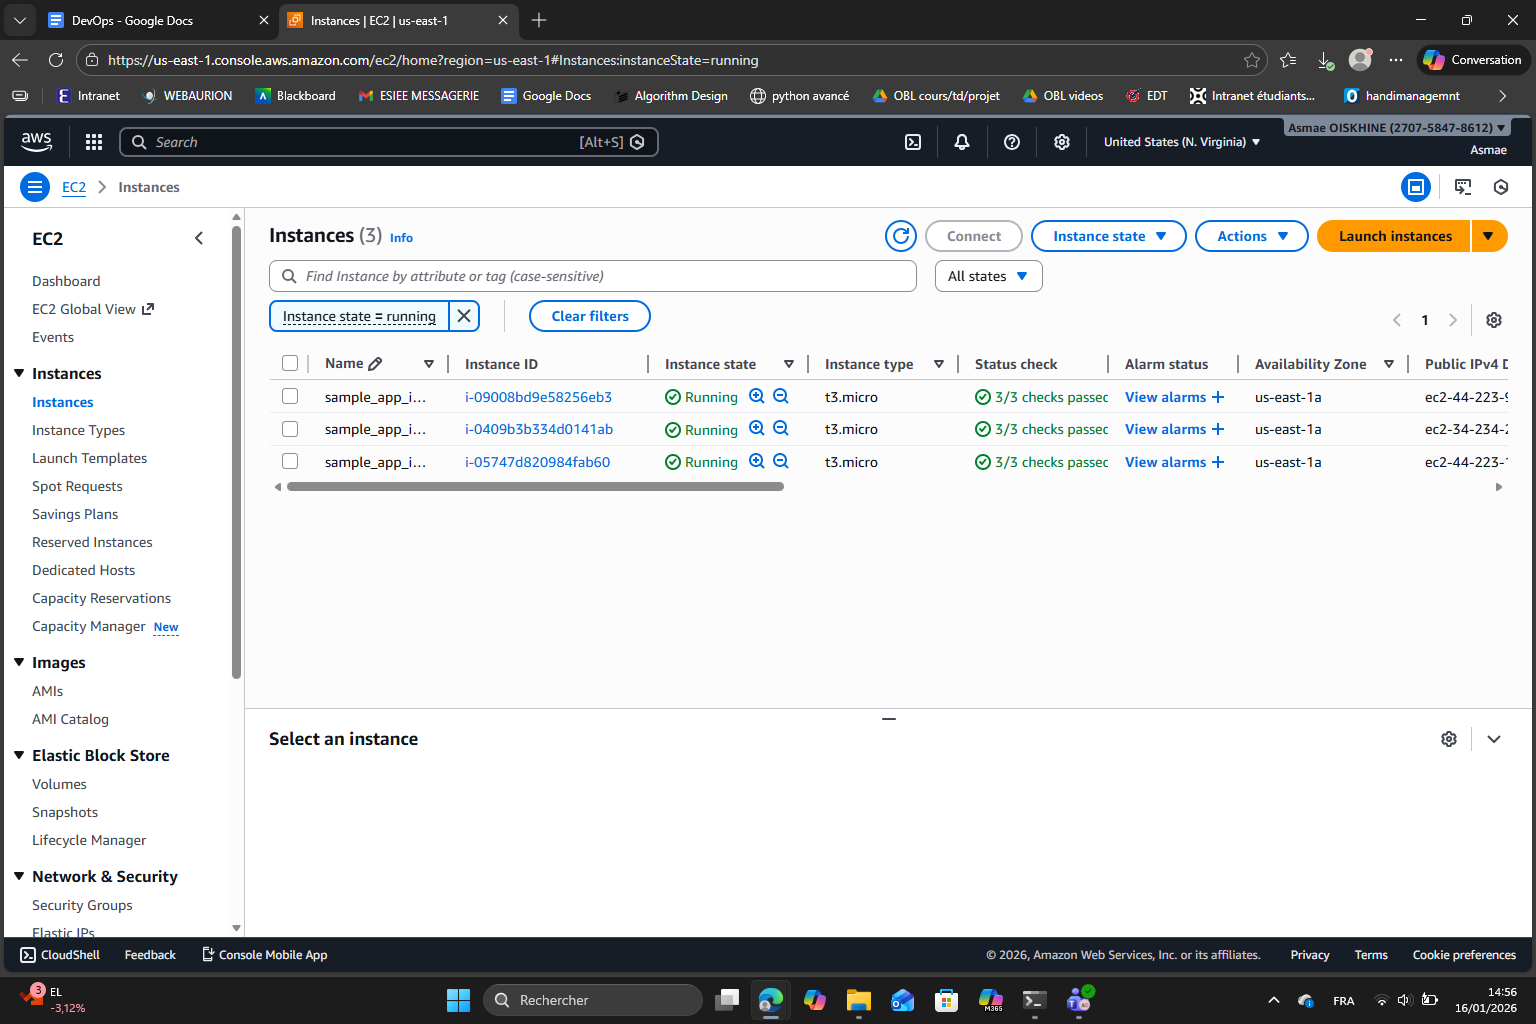
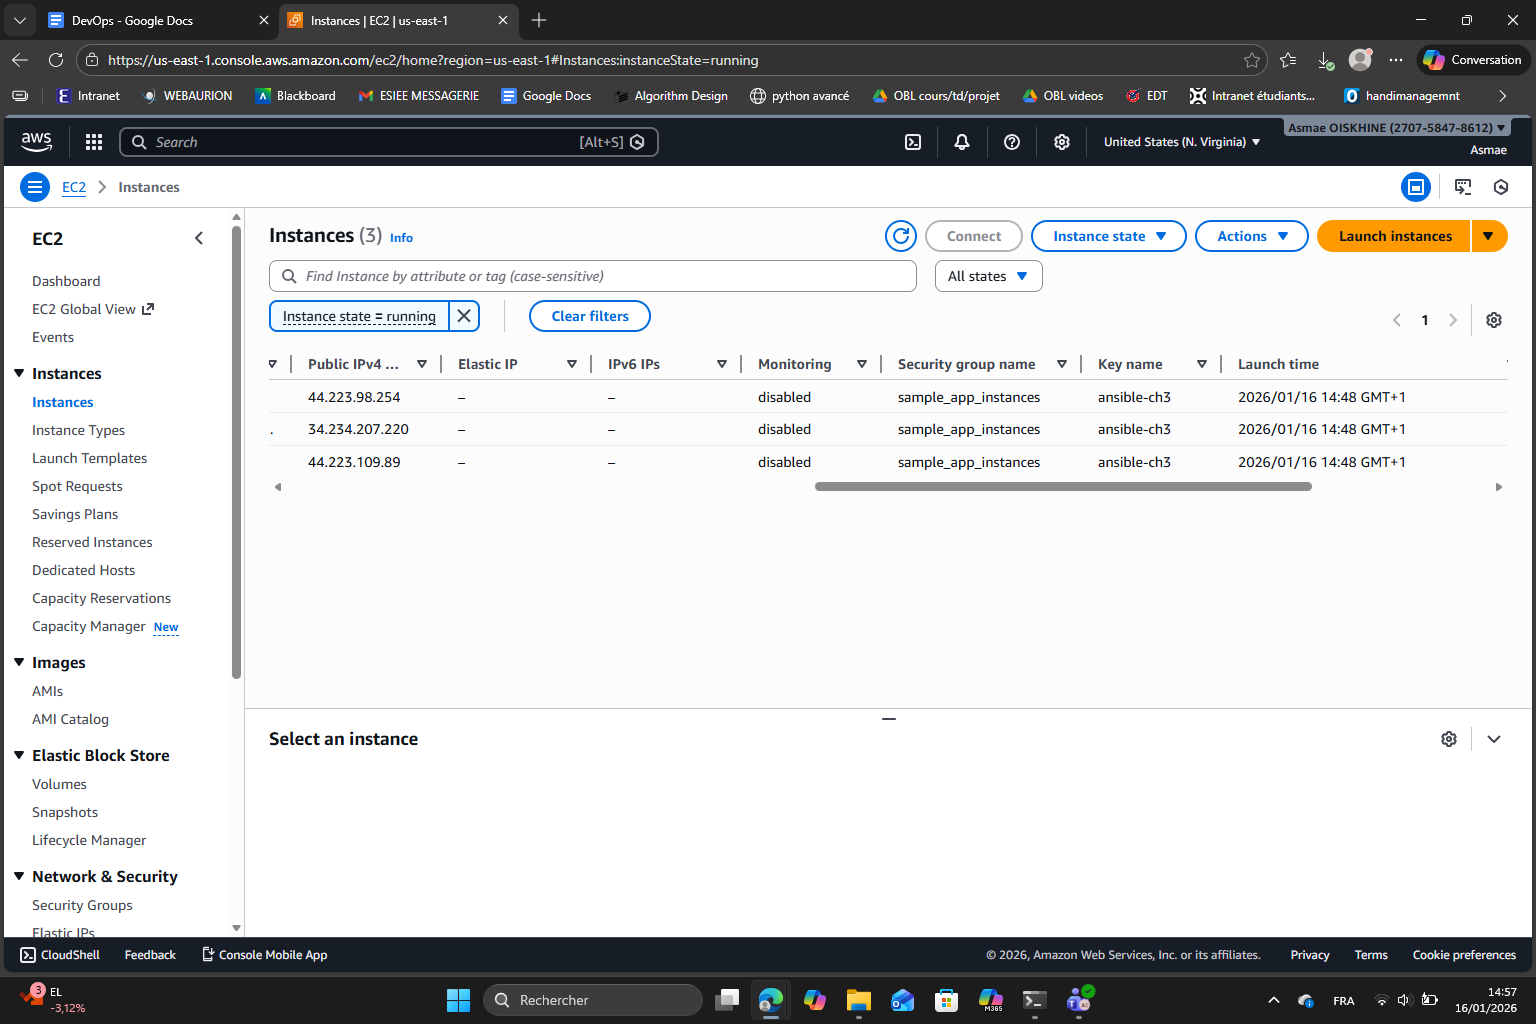
I can confirm the three instances are running successfully.
Step 3 : Configuring Dynamic Inventory
(done)
Step 4 : Deploying the Sample Node.js Application
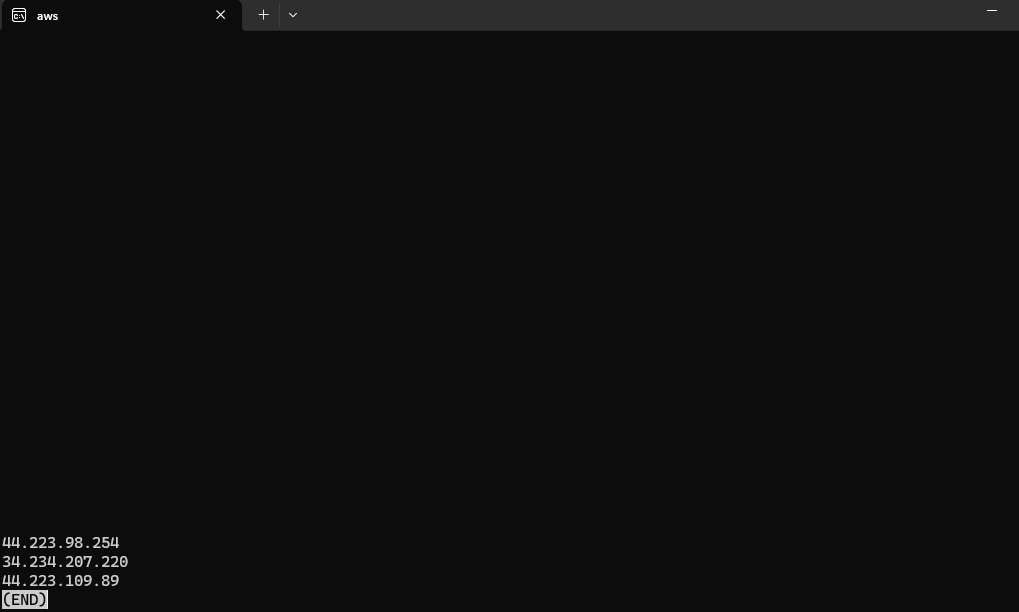
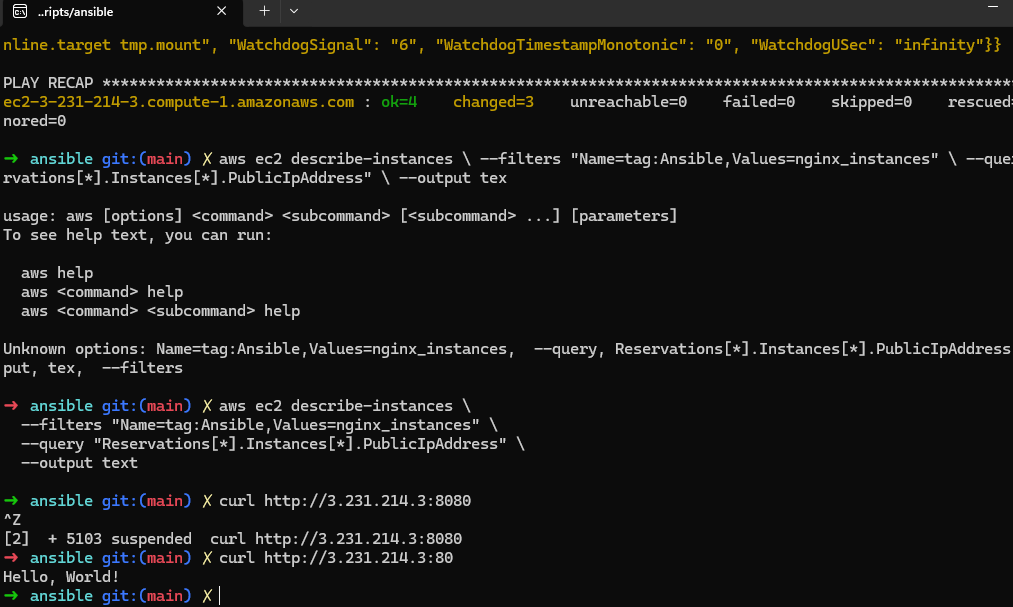
After I ran the application deployment playbook, I retrieved the public IPs and tested the application :
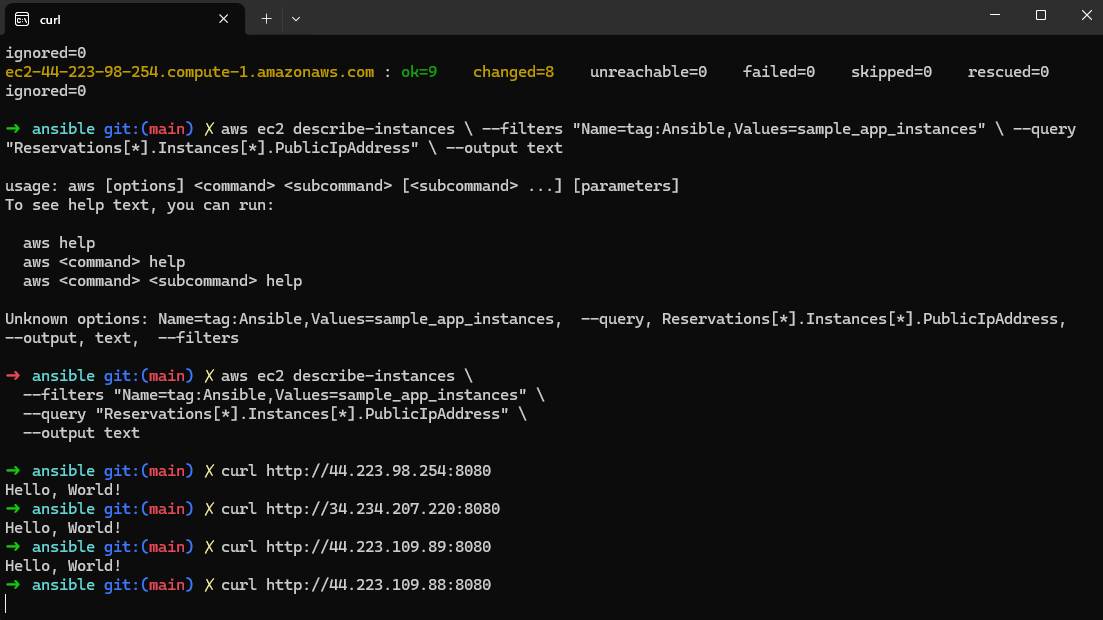
Here we can see that the Node.js sample application was successfully deployed and is running on all the three EC2 instances. This was verified by accessing each instance on port 8080. We can see each access allowed to receive the “Hello, World!” response which was expected.
Step 5 : Setting up Nginx as a Load Balancer
Like we saw in previous chapters, a load balancer is a system that distributes the incoming traffic evenly on multiple servers to ensure that one server doesn’t become overwhelmed. One benefit of this approach is that if one server fails, the load balancer can redirect the traffic to other servers. In this step we use Nginx as a load balancer.
After I ran the playbook to create the EC2 instance for Nginx and ran the Nginx playbook, I retrieved the Nginx public IP and tested the load balancer :
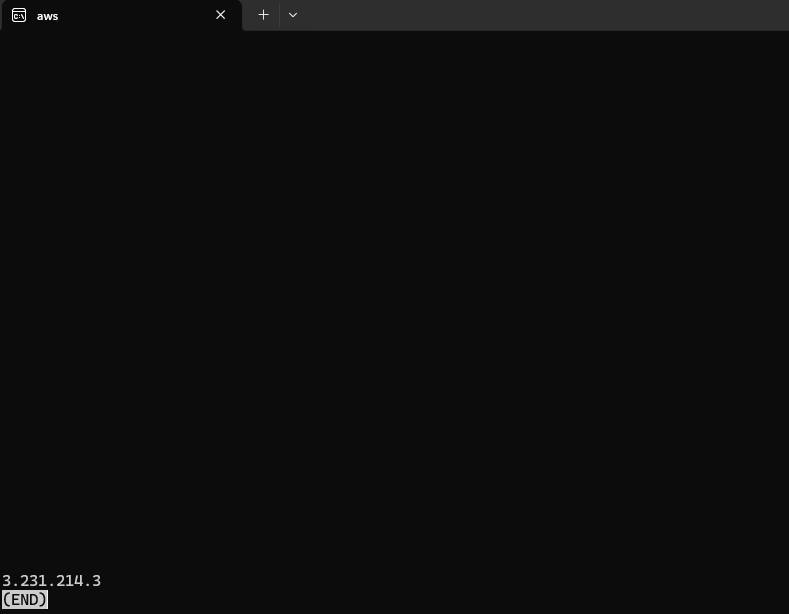
It seems like Nginx is listening on port 80 and not 8080 which can indeed be checked in the nginx.conf.j2 file :
server {
    listen                 80;
    listen                 [::]:80;
    location / {
        proxy_pass http://backend;
    }
}
I can also check directly in the EC2 dashboard that the instance was created and is running :
Step 6 : Implementing Rolling Updates
What we did in this step is apply rolling updates to our sample application by using Ansible. By setting serial: 1 in the playbook, Ansible updates one EC2 instance at a time instead of updating all the instances at the same time. This approach is very interesting to make sure that the original version of the application remains available throughout the update process : while one instance is being updated, the other instances continue to serve traffic.
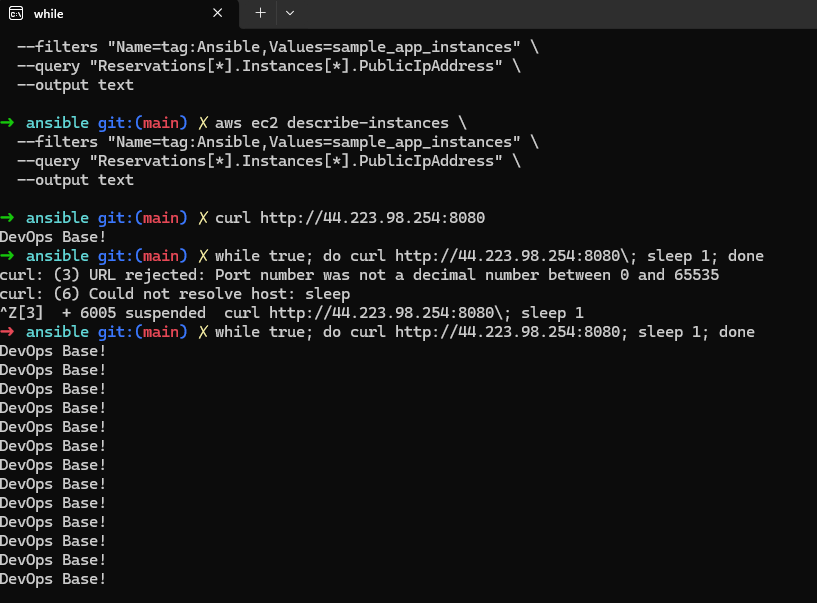
Here we are continuously sending requests to the Nginx load balancer to continuously test the application. Because we updated the app to return “DevOps Base!” we can see that the app continuously shows this message.
Because we only have 3 instances the update was fast but normally, during the rolling update it is possible to see a mix of the old and new response as some instances are still running the old version while others already run the new one.
Part 2 : VM Orchestration with Packer and OpenTofu
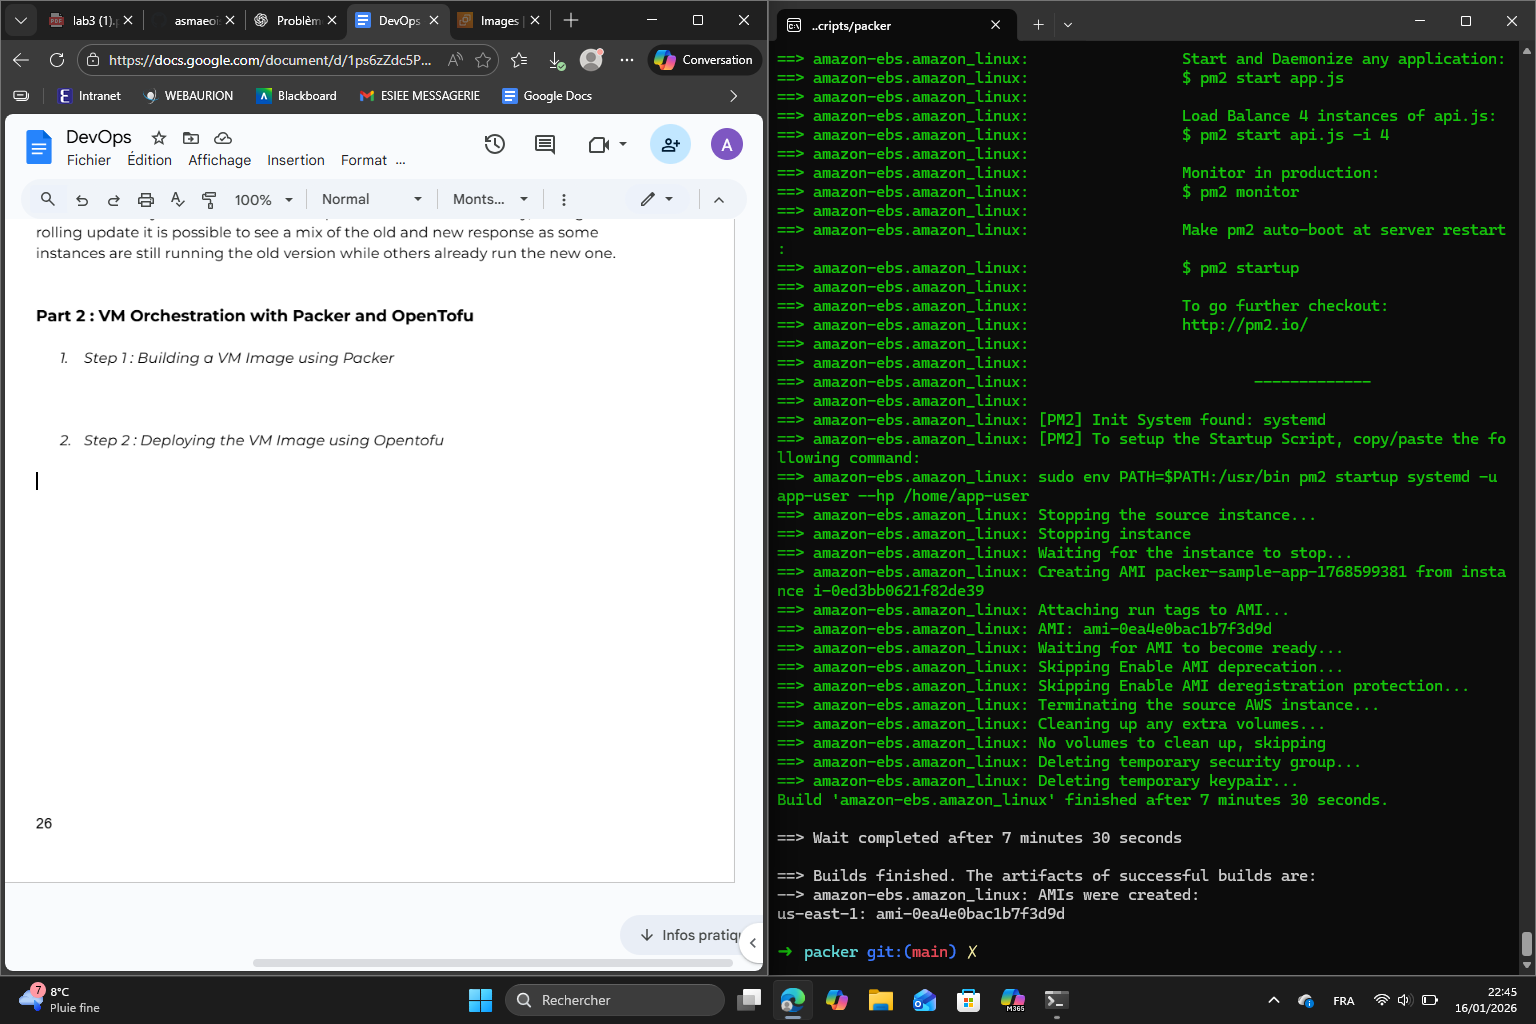
Step 1 : Building a VM Image using Packer
Step 2 : Deploying the VM Image using OpenTofu
Correcting the path to :
github.com/asmaeoiskhine/devops_base//td3/scripts/tofu/modules/asg
Then I initialized and applied tofu. For that, I had to make some changes to the main.tf. I added a module alb with the obligatory expected parameters :
module "alb" {
  source = "github.com/asmaeoiskhine/devops_base//td3/scripts/tofu/modules/alb"

  name                  = "sample-app-alb"
  app_http_port         = 8080
  app_health_check_path = "/health"

  targets = module.asg.instance_ids
}
I also created a key_name variable in variable.tf and included it in main.tf using the ansible-ch3 key.
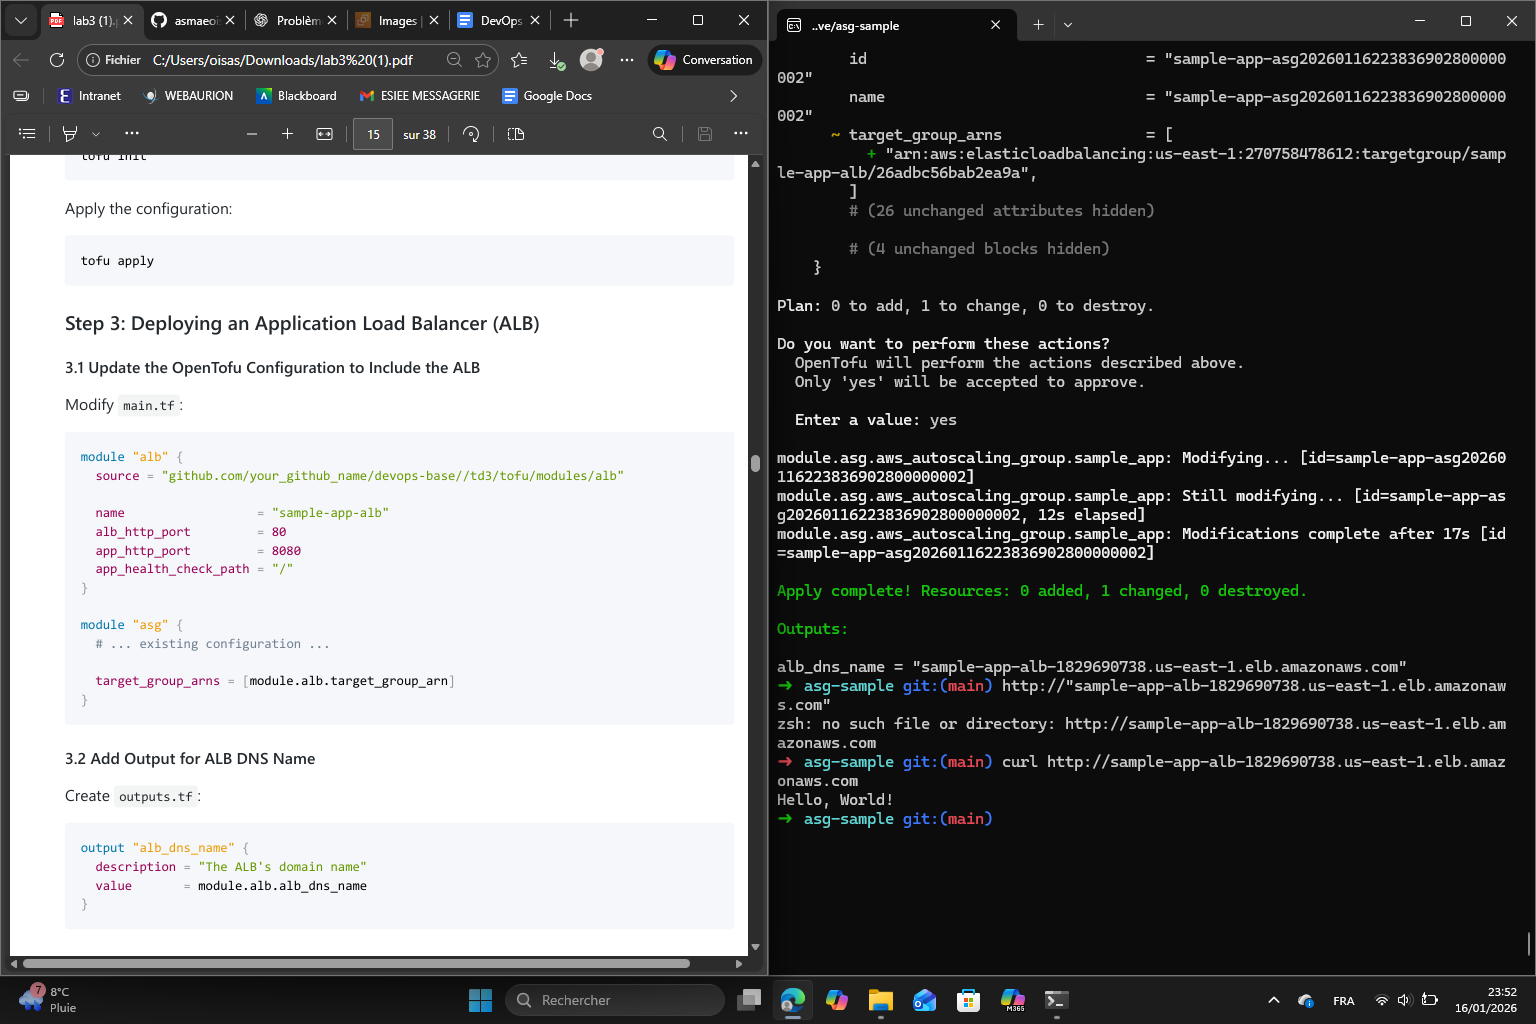
Step 3 : Deploying an ALB
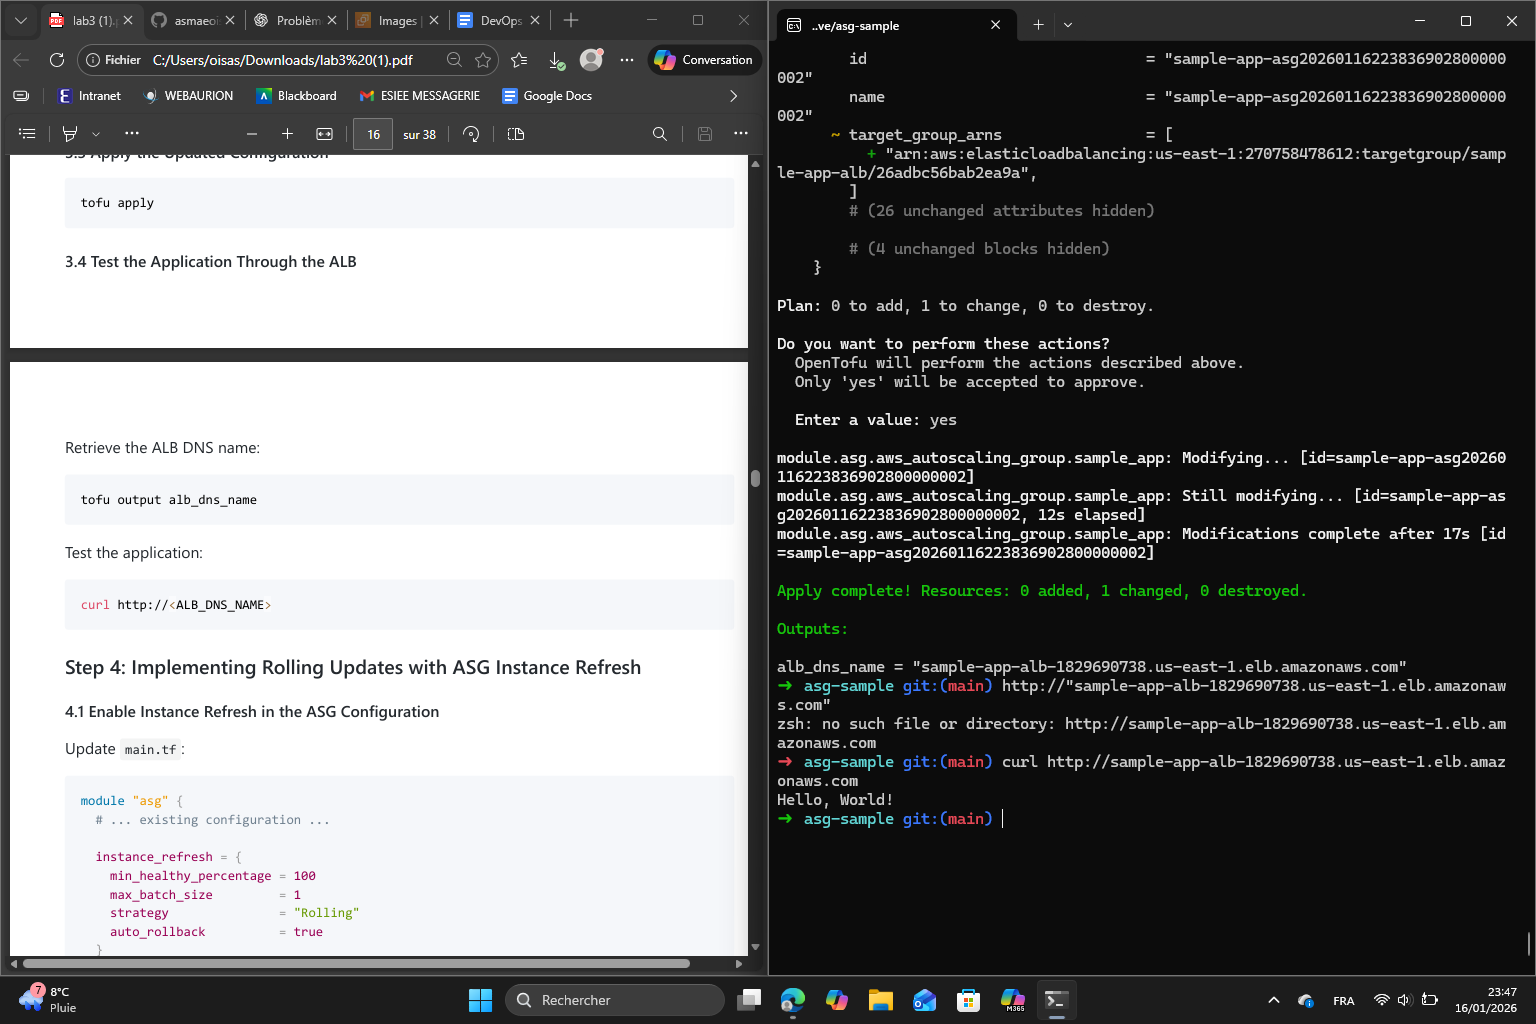
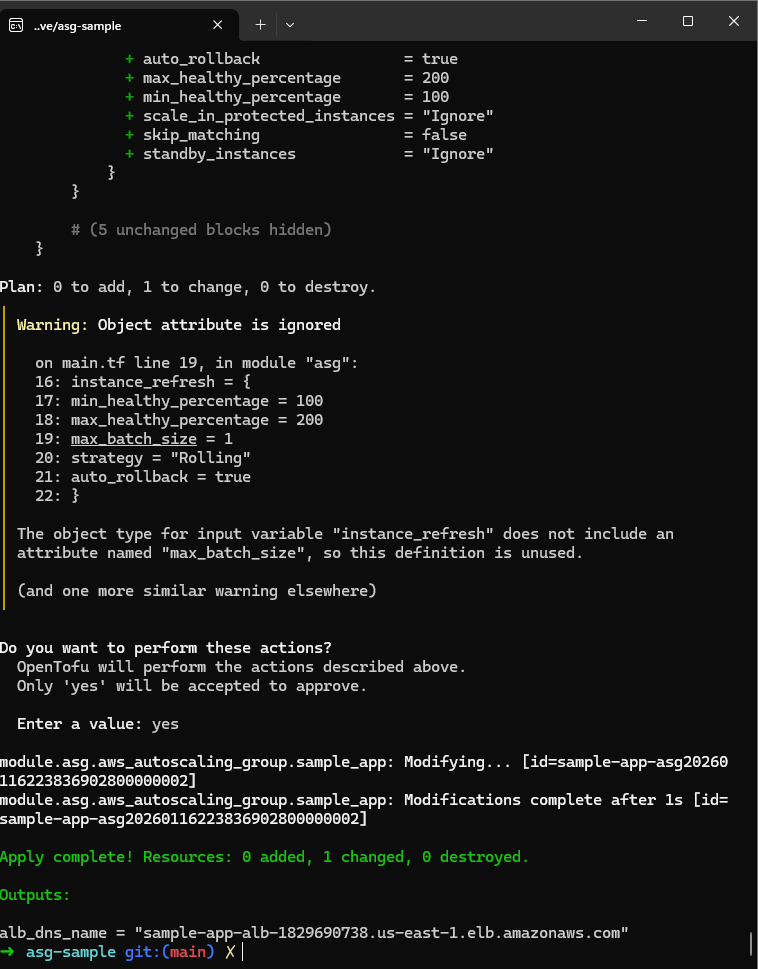
Step 4 : Implementing Rolling Updates with ASG Instance Refresh
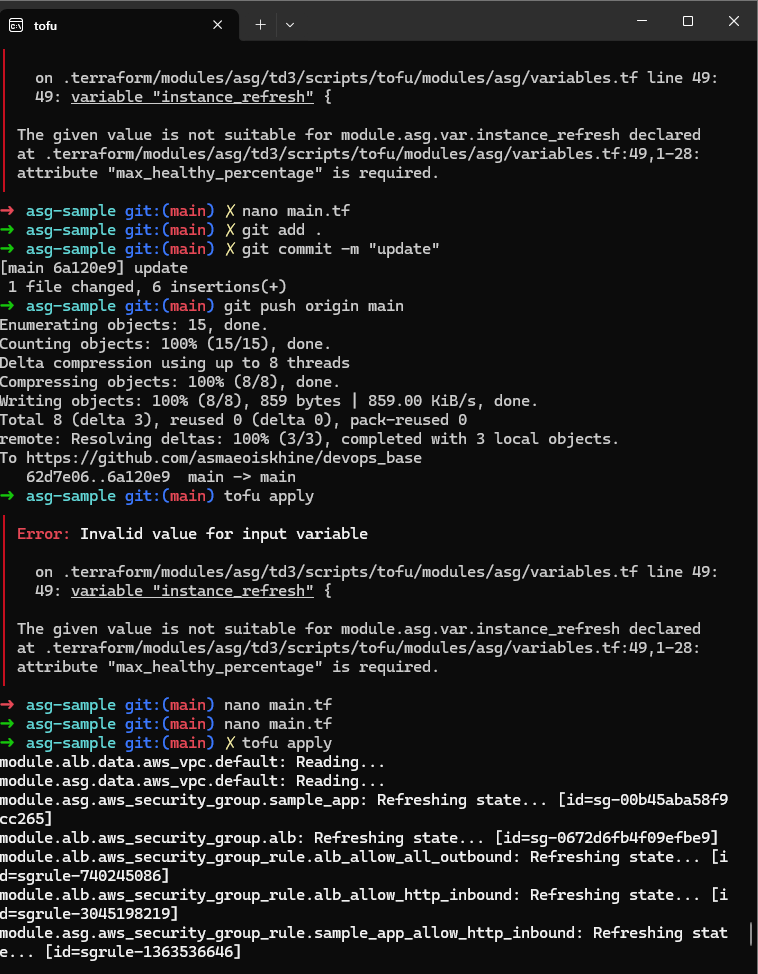
The error says that the max_healthy_percentage attribute is required. This attribute was indeed not specified in the code given by the lab paper so I added it to the code.
Result :
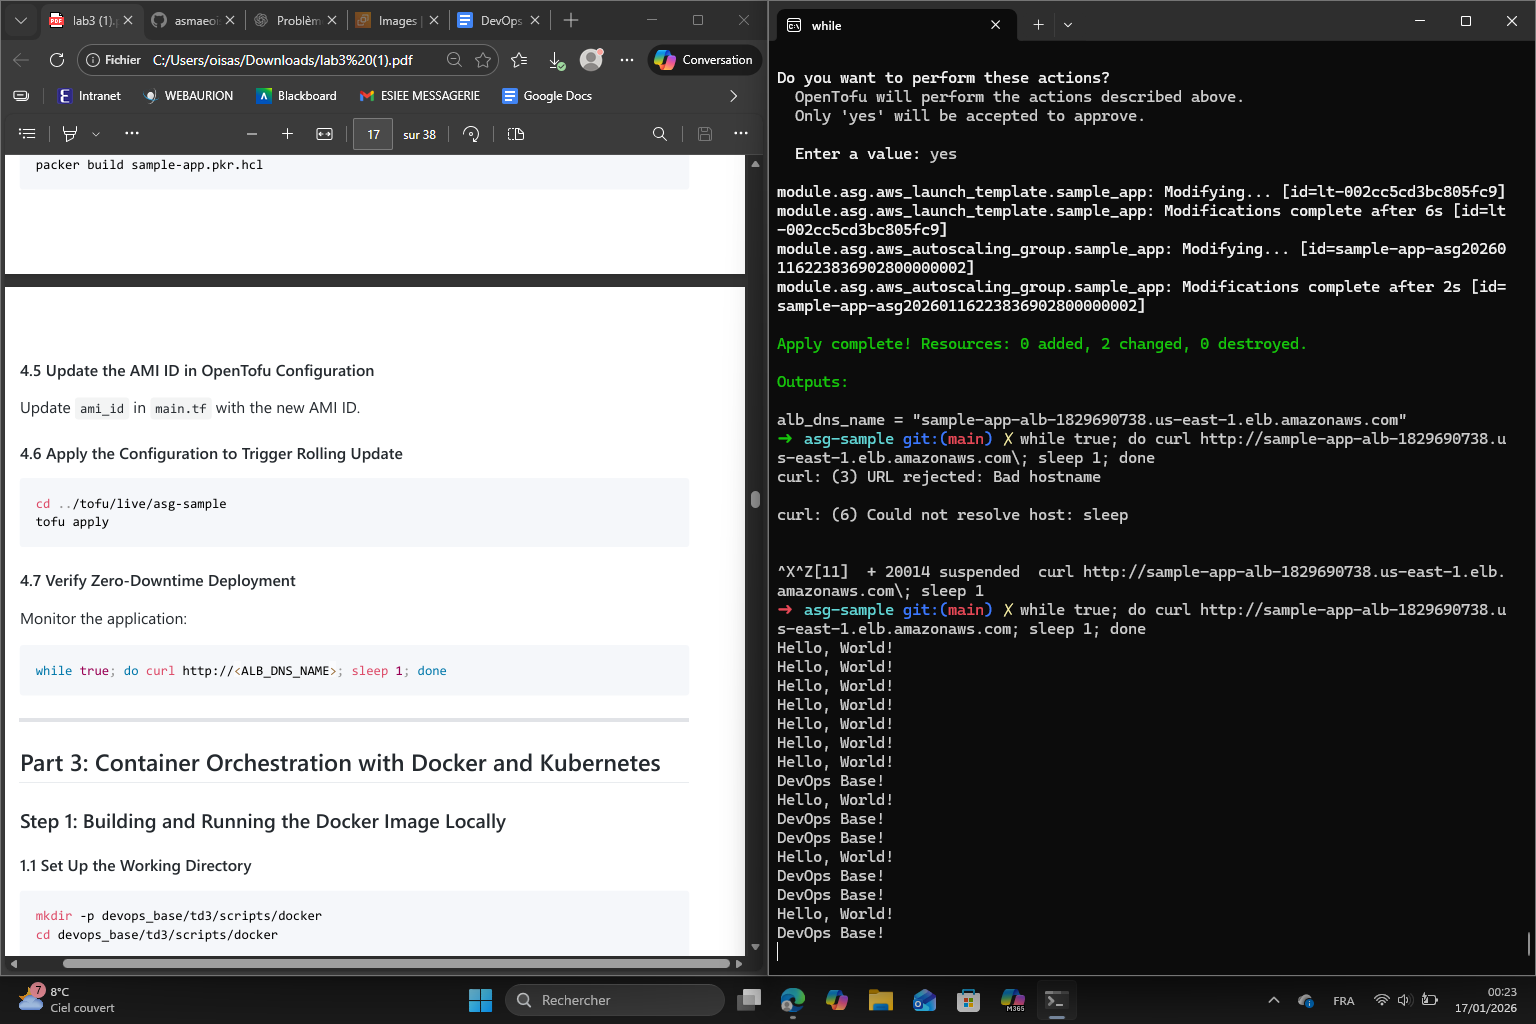
Finally, after I completed the other steps :
Part 3 : Container Orchestration with Docker and Kubernetes
The objective of this part is to understand the steps involved in container orchestration using Kubernetes on AWS. To do this we will :
- deploy a Kubernetes cluster in AWS using Amazon EKS
- push a Docker image to Amazon ECR
- deploy a dockerized application to the EKS cluster
- practice working with Kubernetes in a cloud environment
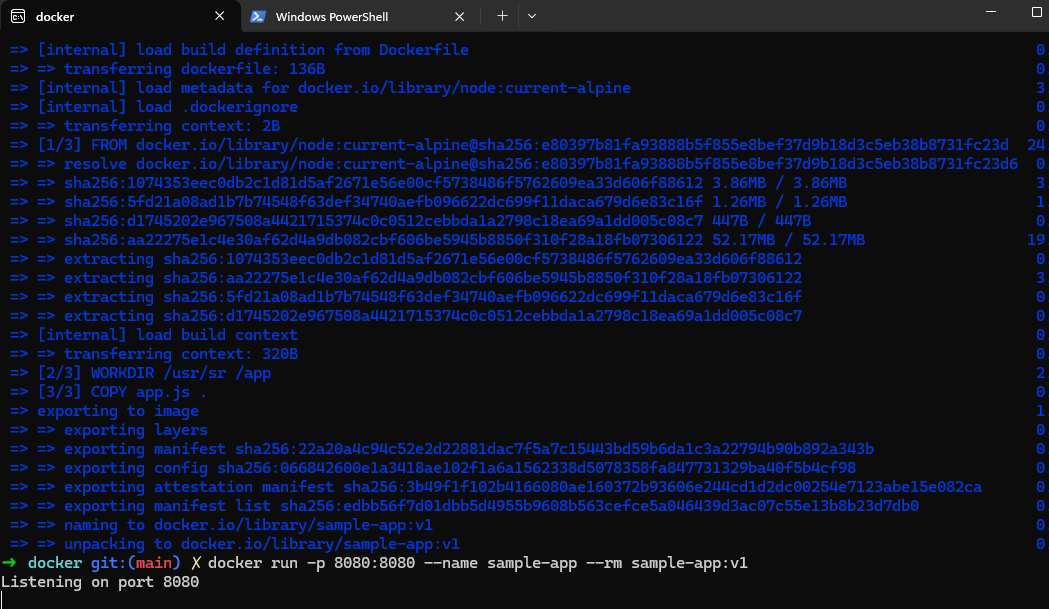
Step 1 : Building and running the Docker image locally
For this first step, I will run the Docker image locally. I set up the working directory, navigated to it and created the sample app and the Dockerfile to containerize the app. Then I built the Docker Image and ran the Docker container locally.
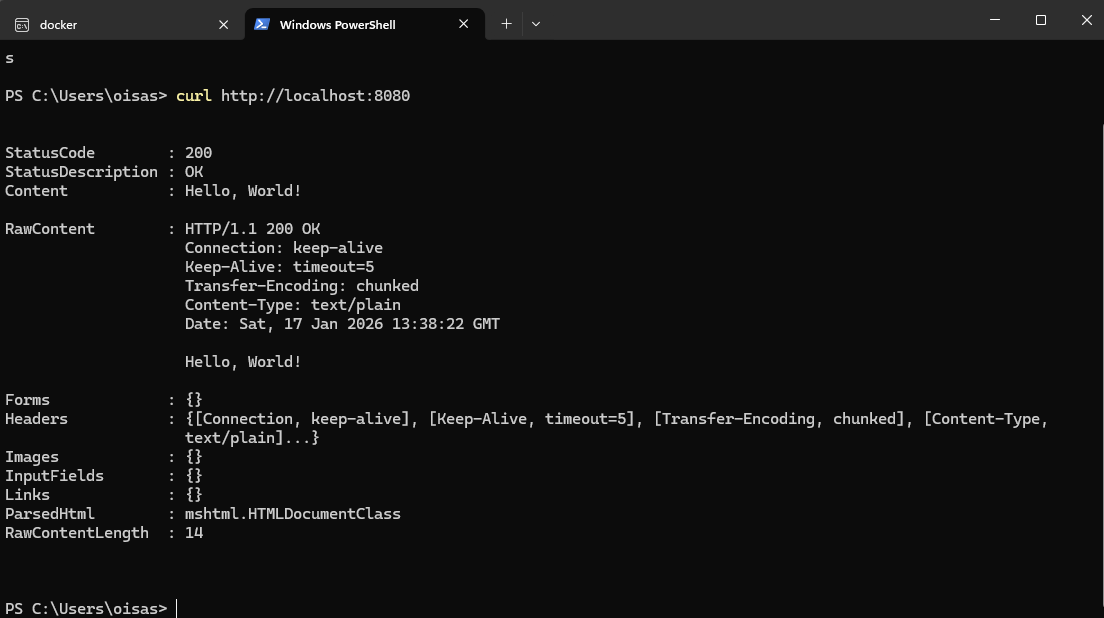
In a separate terminal (Powershell), I verified the app response by using curl :
Step 2 : Deploying the application to local Kubernetes cluster
After I enabled Kubernetes through Docker Desktop settings, I verified it was indeed running :
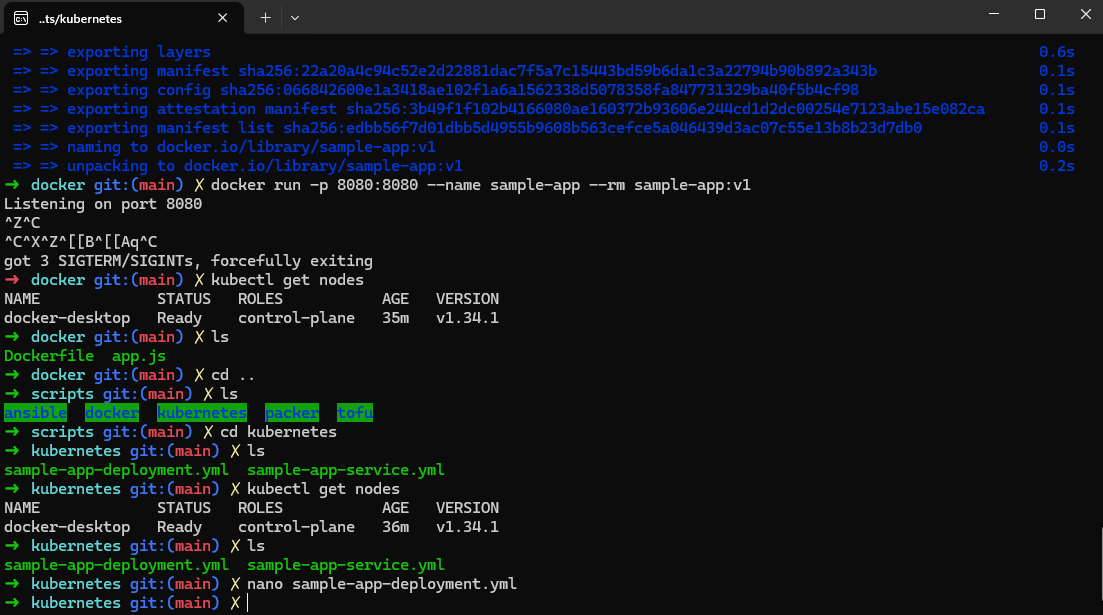
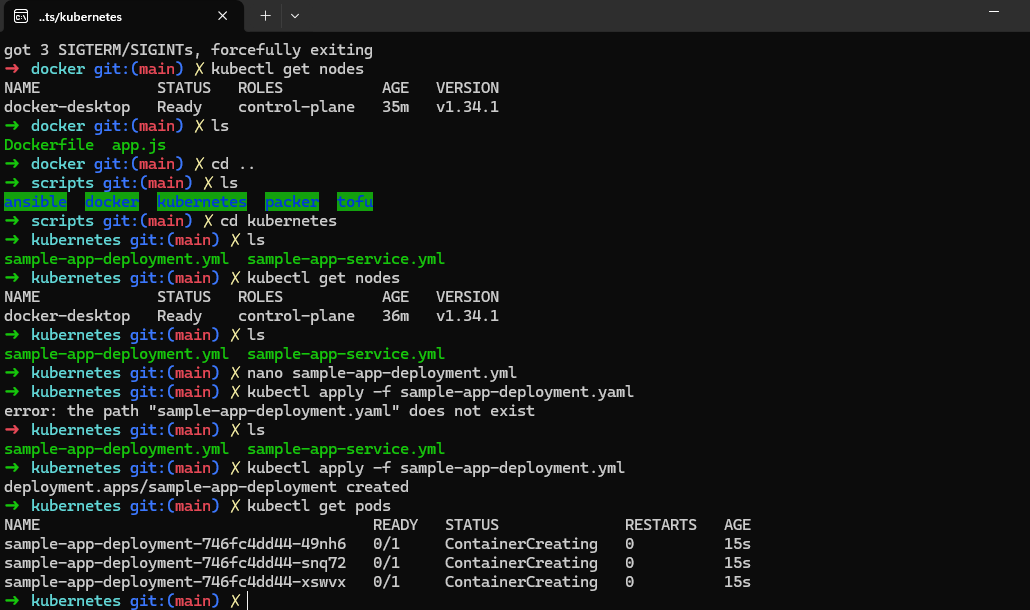
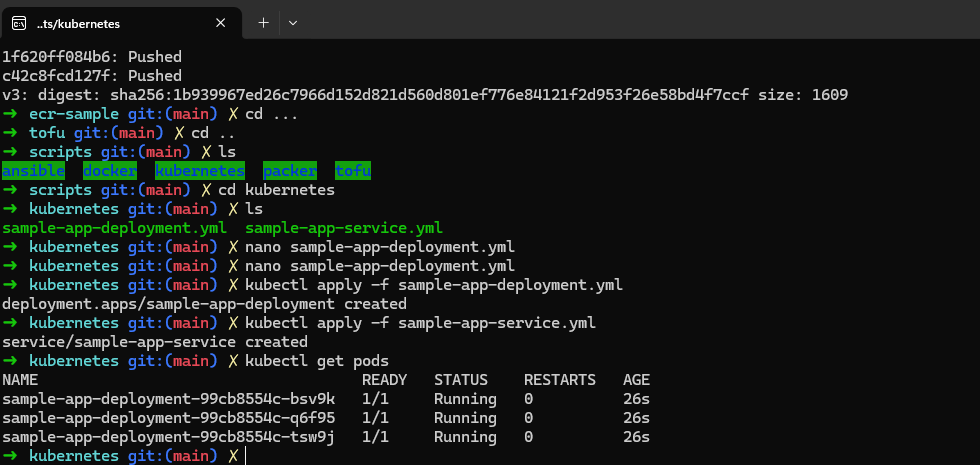
Then I created the Kubernetes deployment configuration, applied it and verified the pods are running :
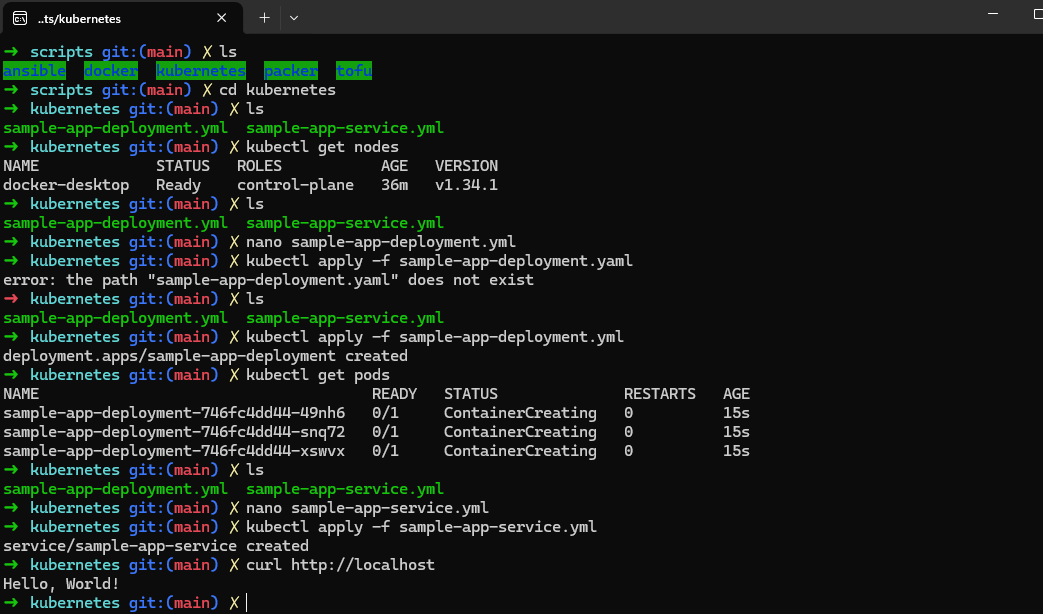
Then I created the Kubernetes service configuration, applied it and tested the application :
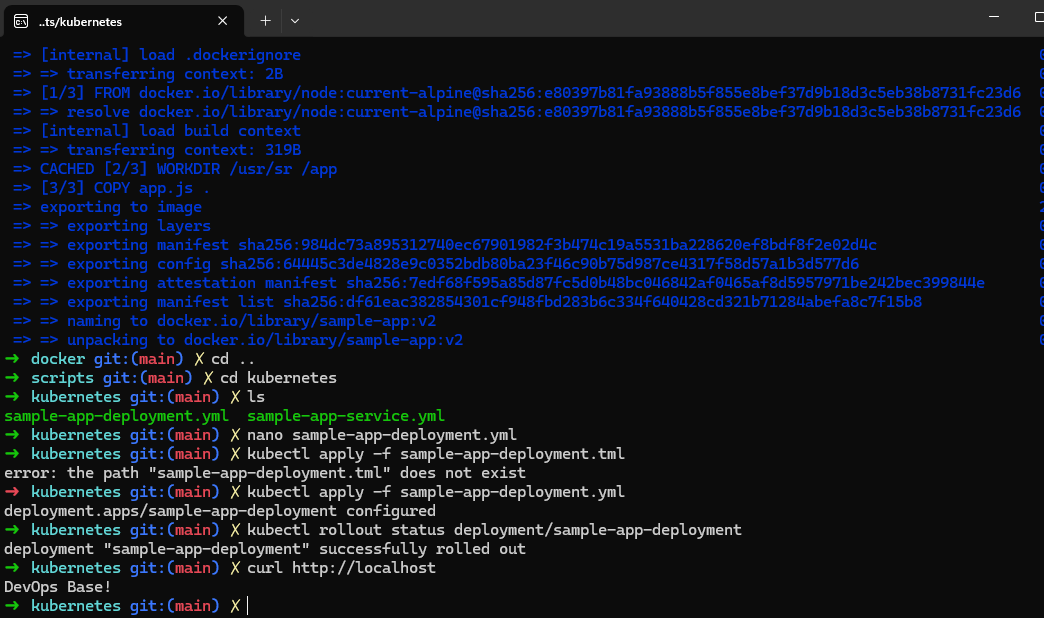
Step 3 : Performing a Rolling Update
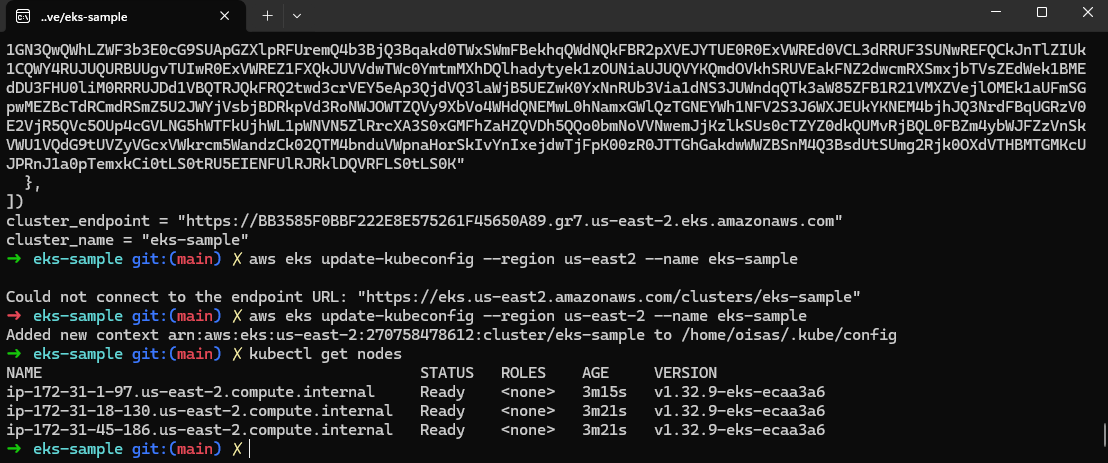
Step 4 : Deploying a Kubernetes cluster in AWS using EKS
Step 5 : Pushing a Docker Image to Amazon ECR
5.1

5.2

registry_url = "270758478612.dkr.ecr.us-east-2.amazonaws.com/sample-app"
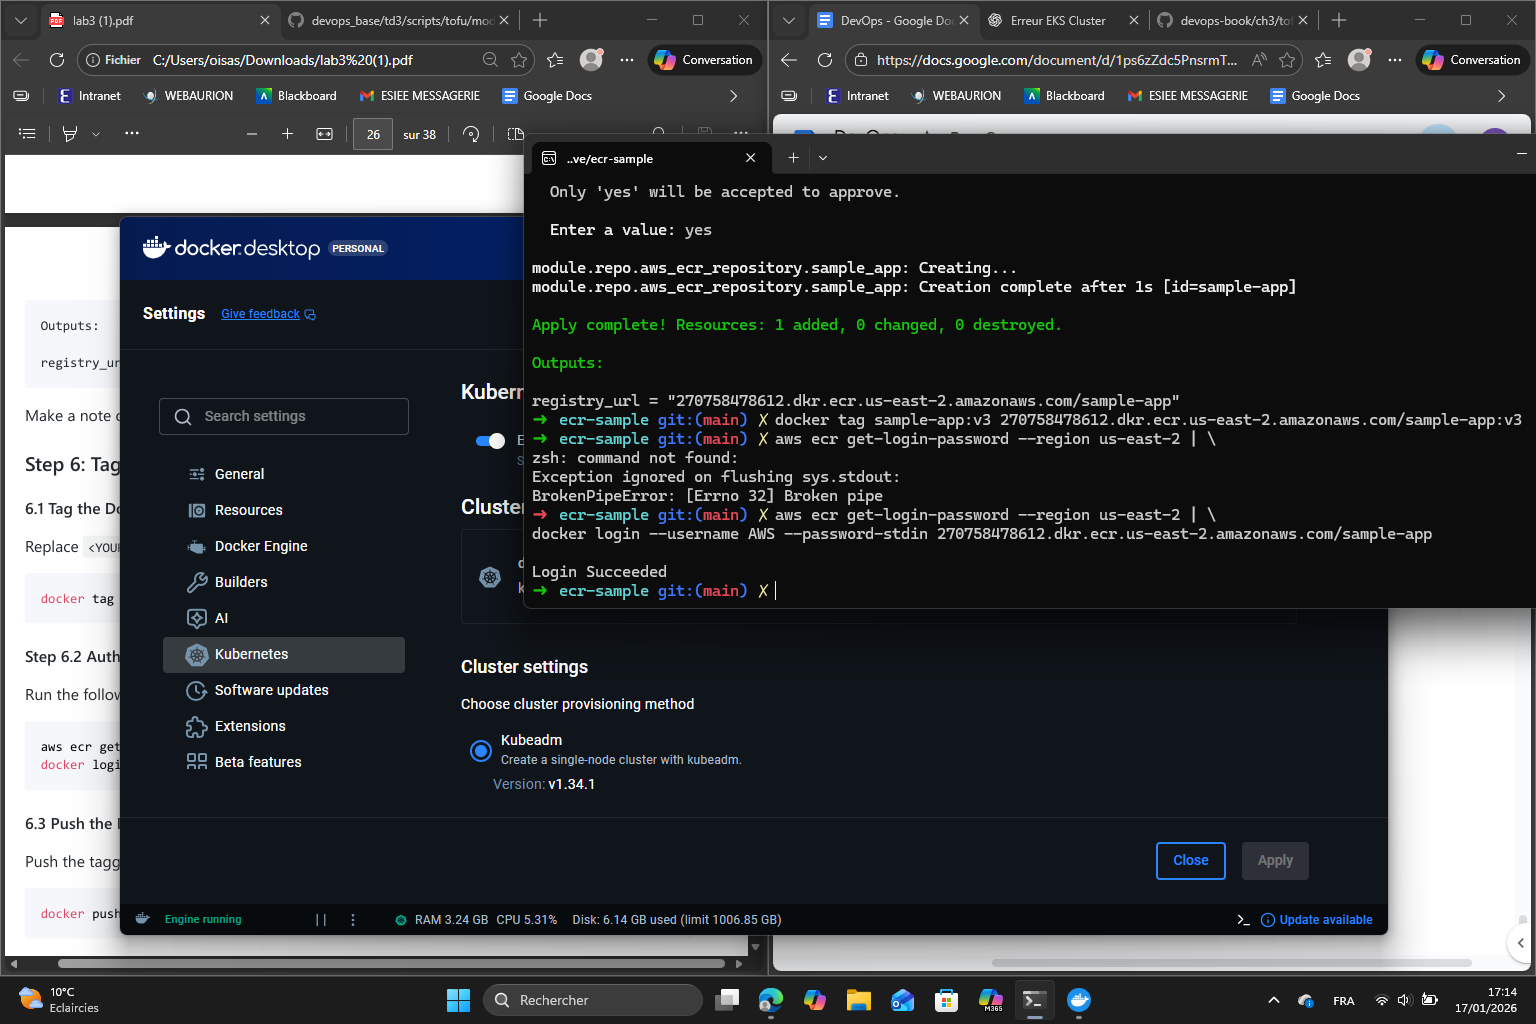
Step 6 : Tag and push the Docker Image to ECR
First we tag the Docker Image then we authenticate Docker to ECR :
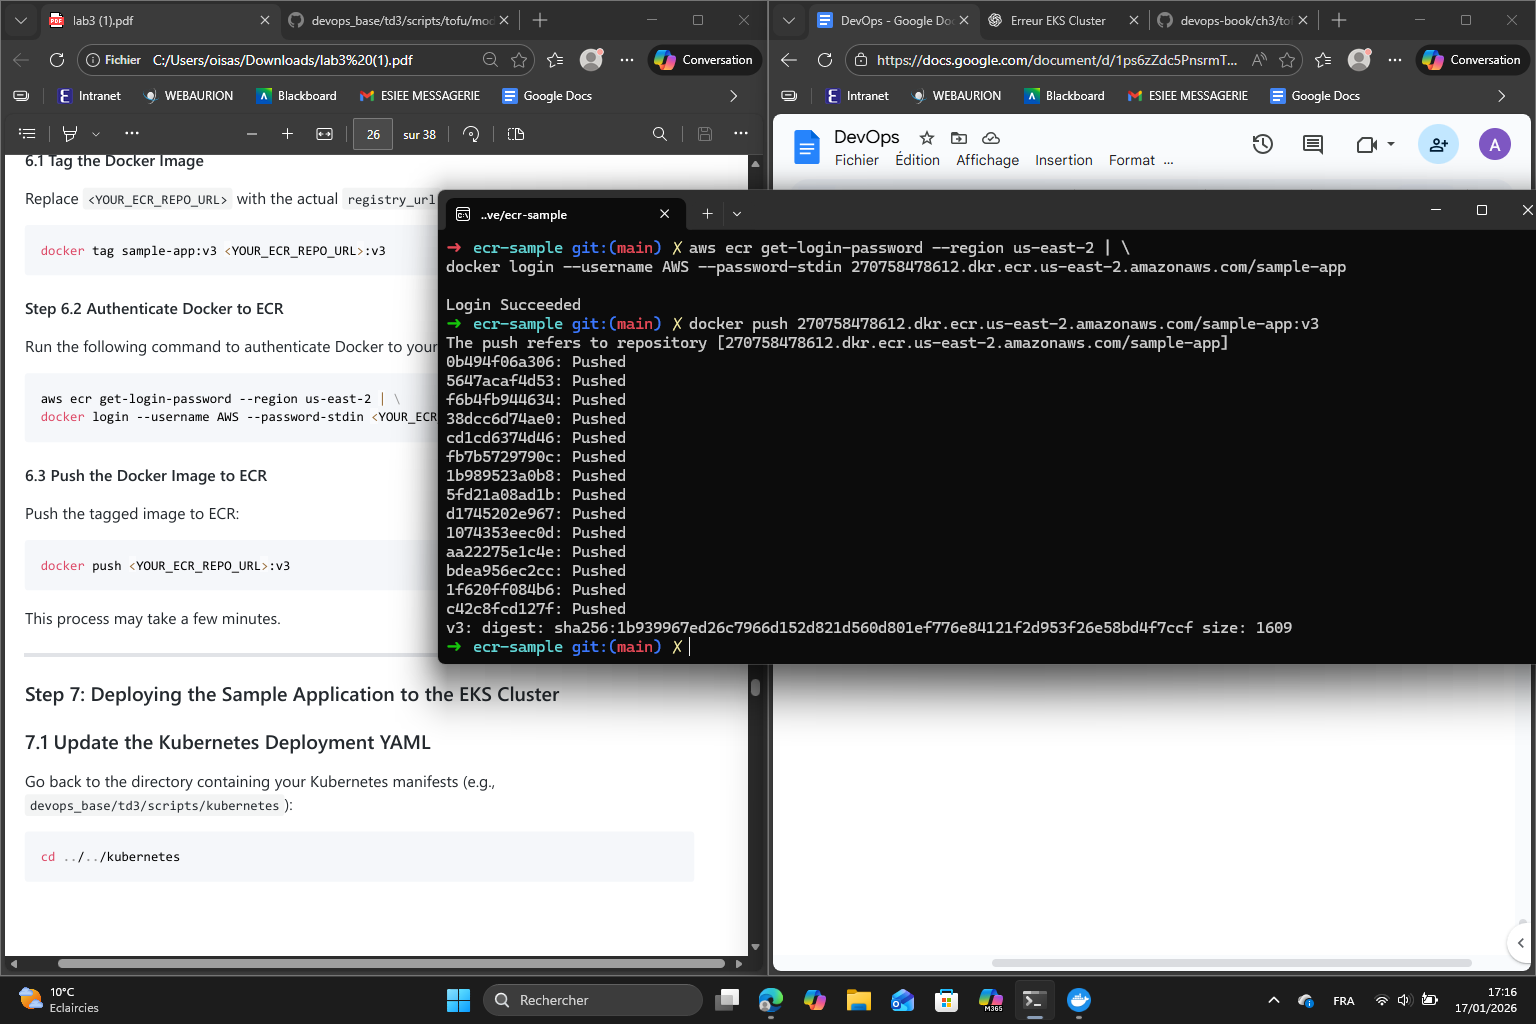
Then we push the Docker Image to ECR :
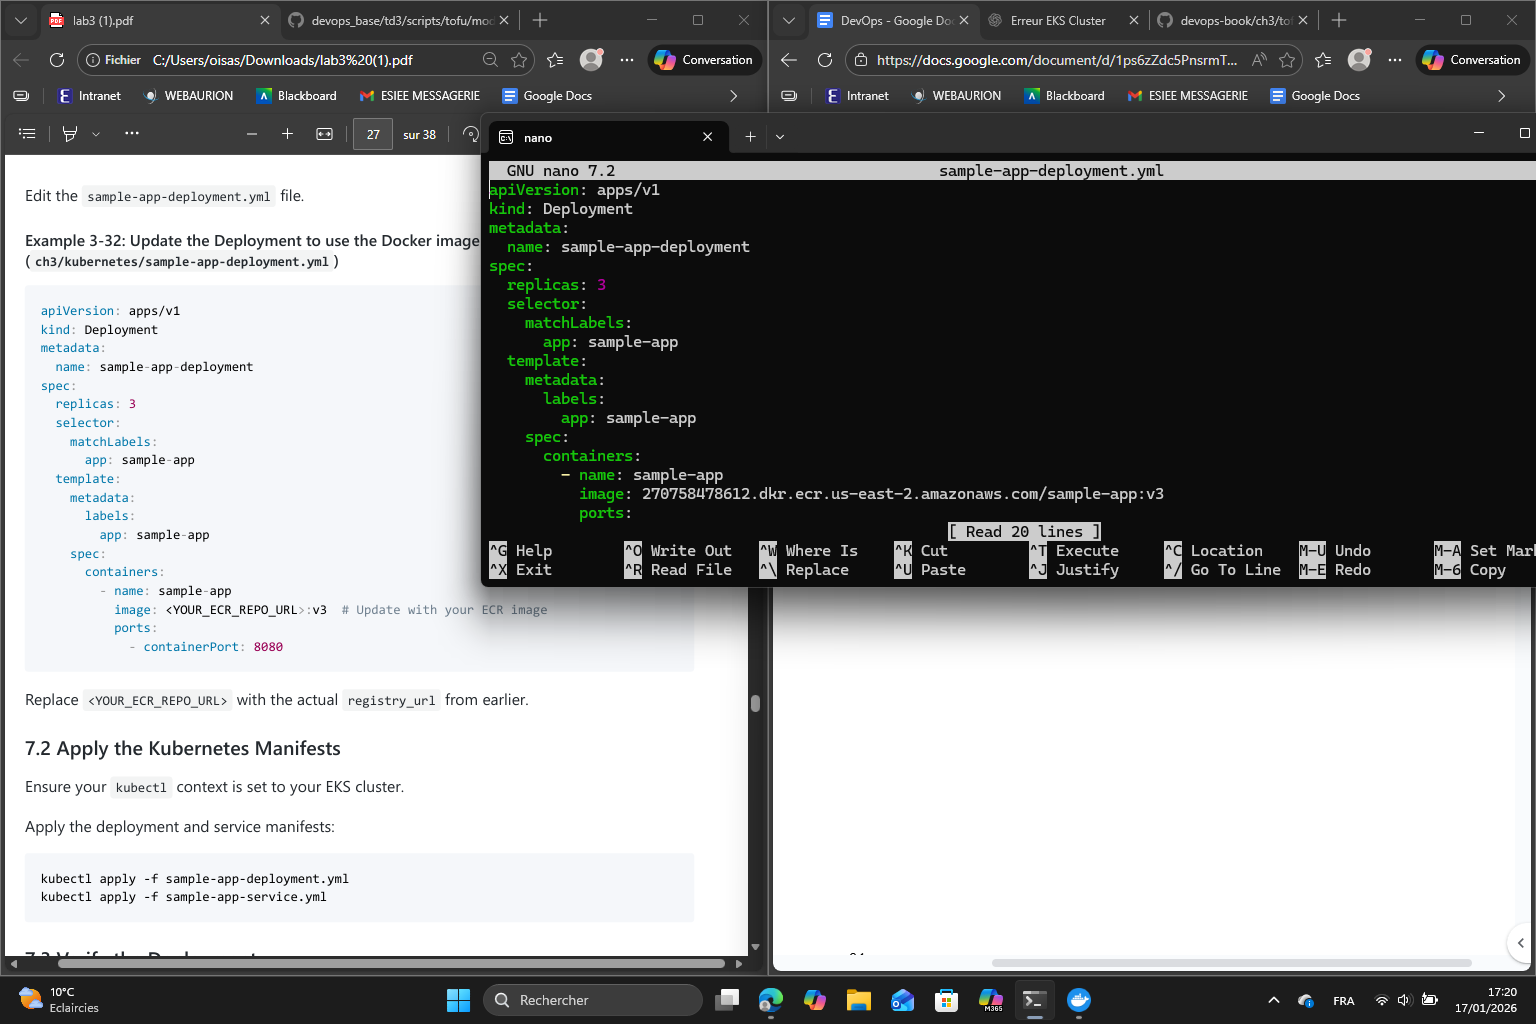
Step 7 : Deploying the sample application to the EKS Cluster
First I updated sample-app-deployment.yml to use the image from ECR :
Then I applied the Kubernetes manifests and verified the deployment :
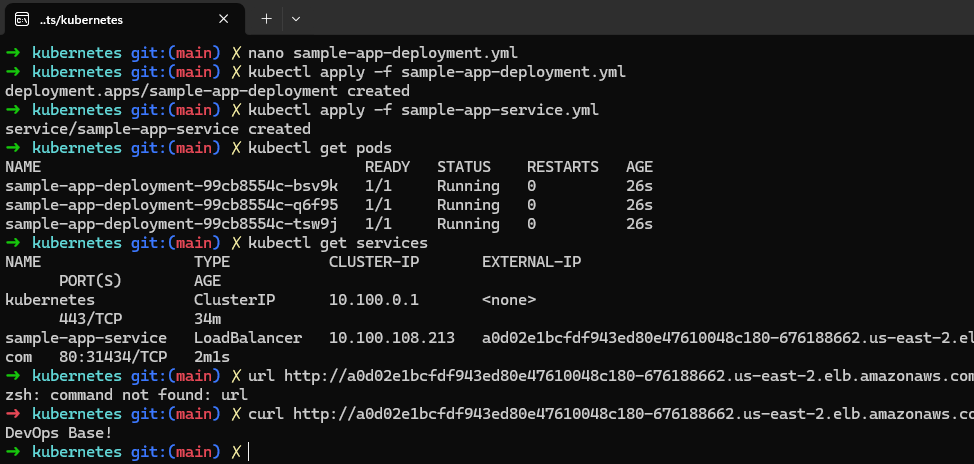
I retrieved the external IP of the load balancer and tested the app :
external-ip of sample-app-loadbalancer:
a0d02e1bcfdf943ed80e47610048c180-676188662.us-east-2.elb.amazonaws.com
Finally, I did the cleanup.
Part 4 : Serverless Orchestration with AWS Lambda
In this part, I explored serverless orchestration using AWS Lambda and API Gateway. The goal was to deploy a function that responds to HTTP requests and update it efficiently without managing servers.
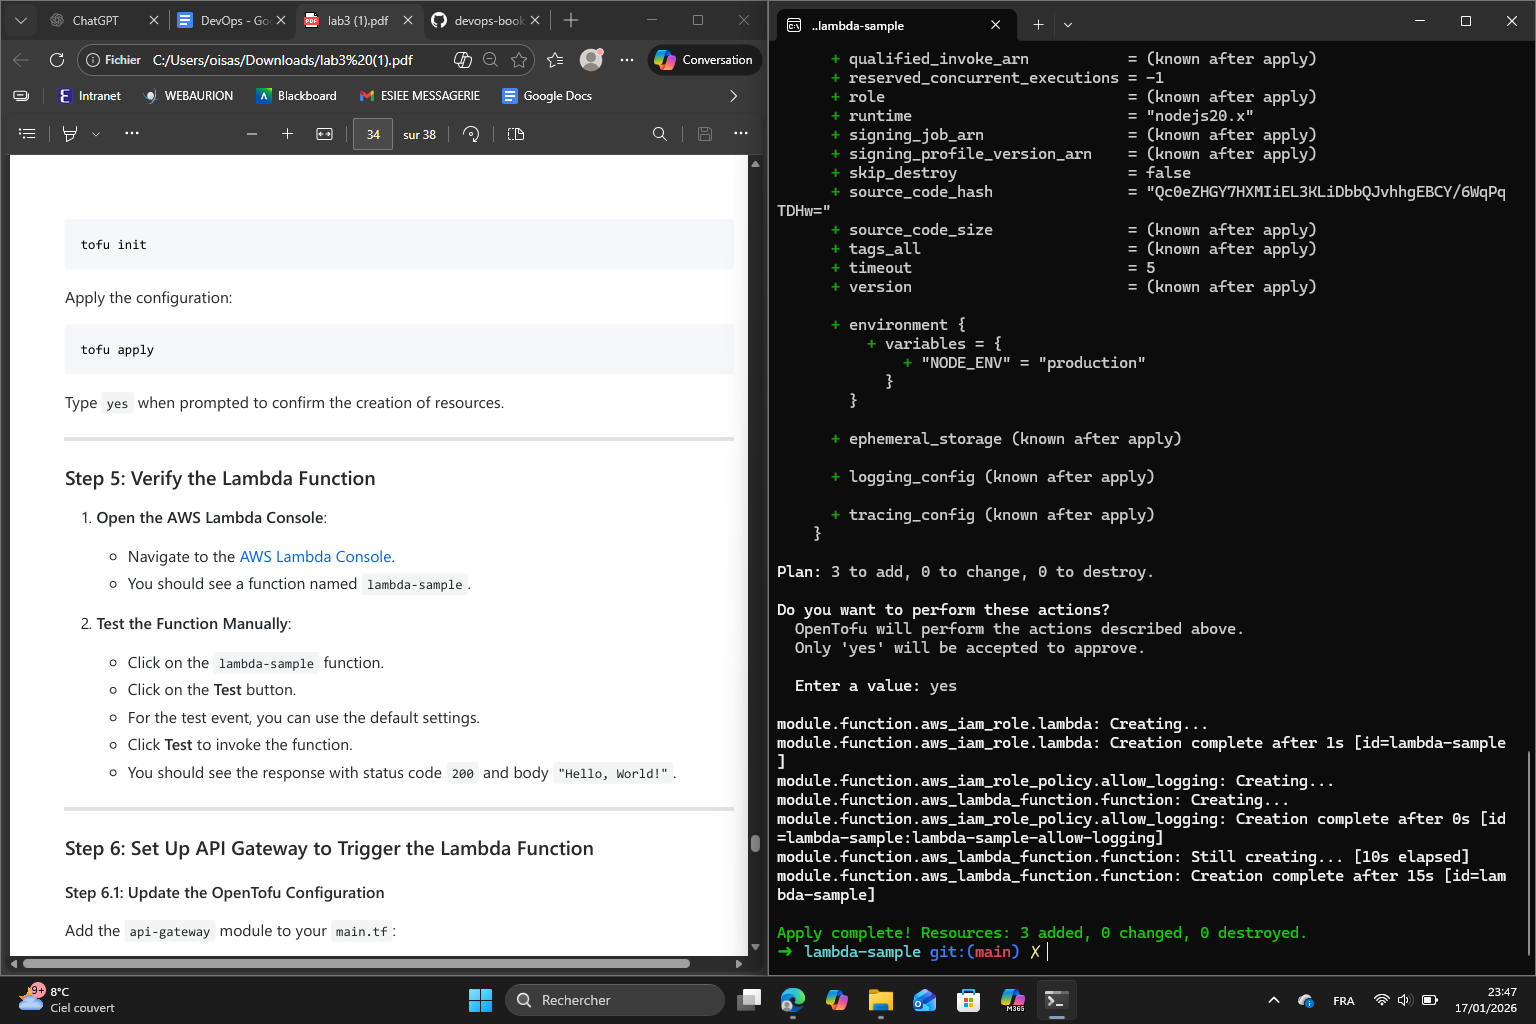
I started by setting up the working directory, creating the lambda function code and the main OpenTofu configuration in main.tf.
Then I deployed the lambda function :
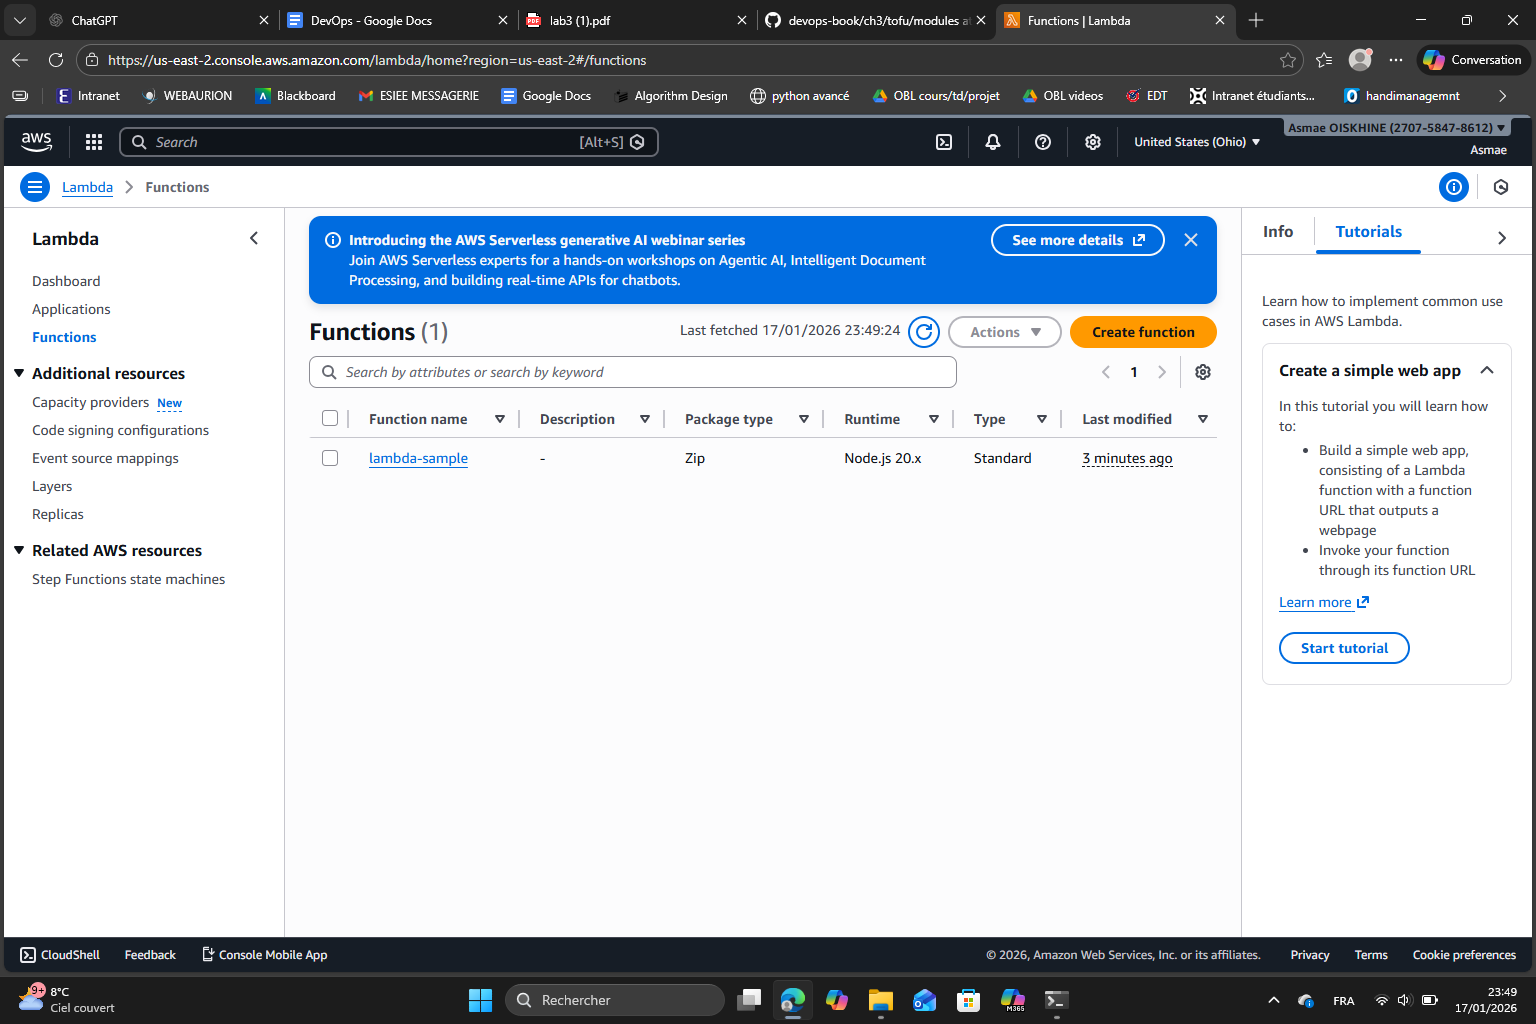
After it was successfully deployed, I opened AWS Lambda console and confirmed that the function lambda-sample exists :
Then tested it manually using the test button :
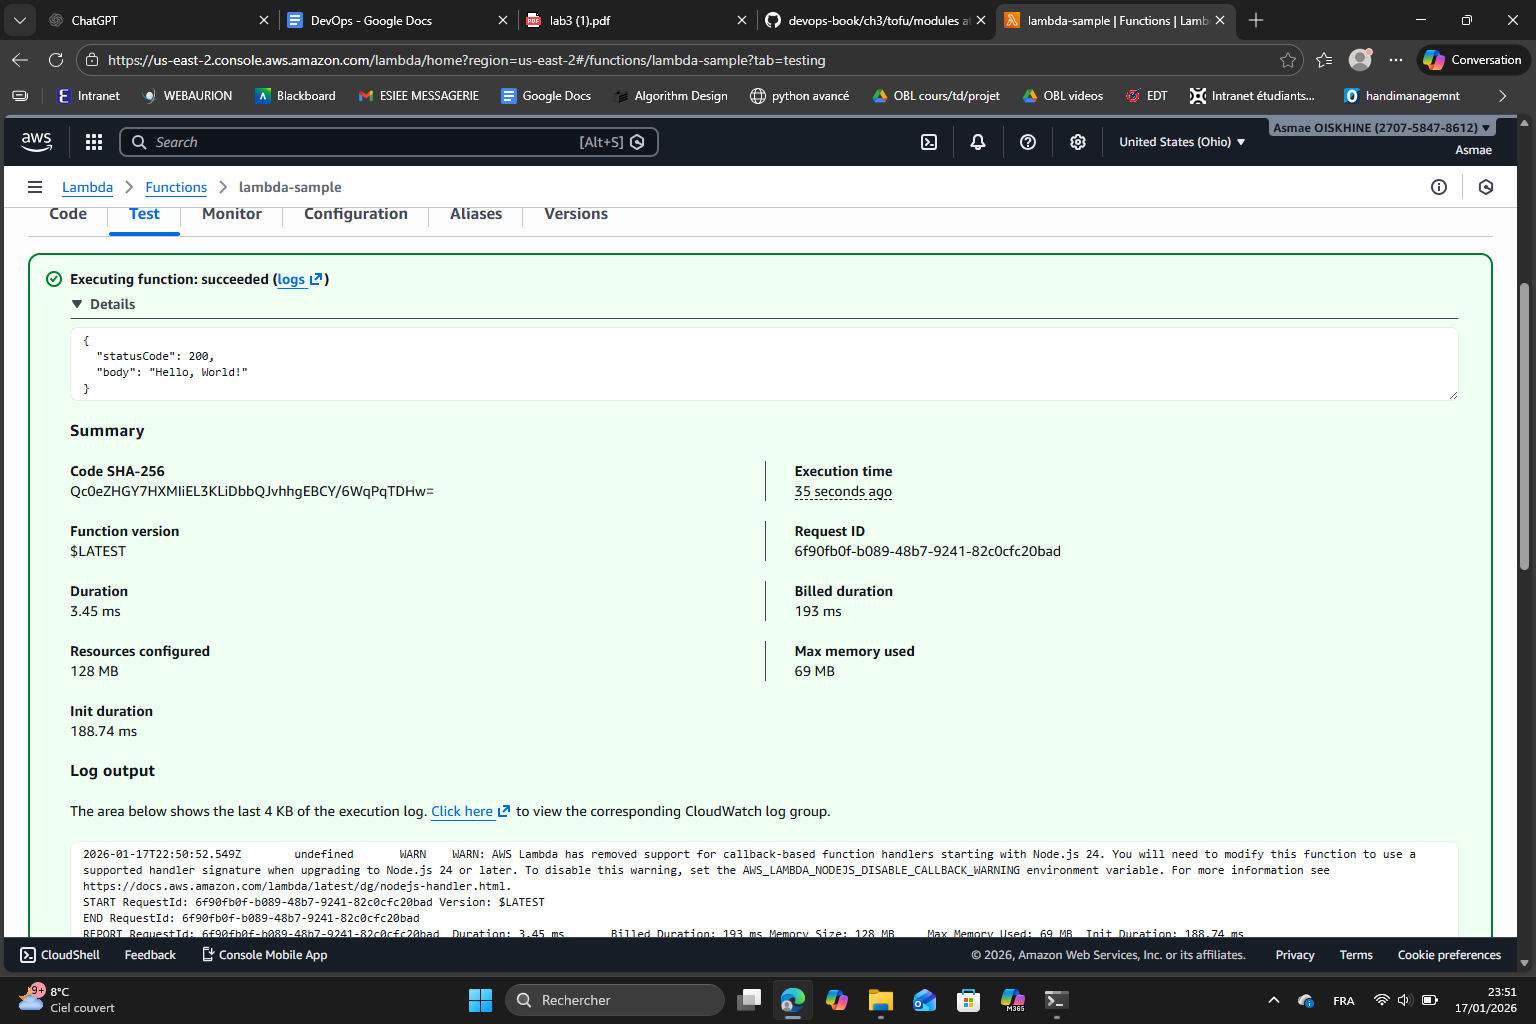
As expected it shows the JSON response we defined in index.js.
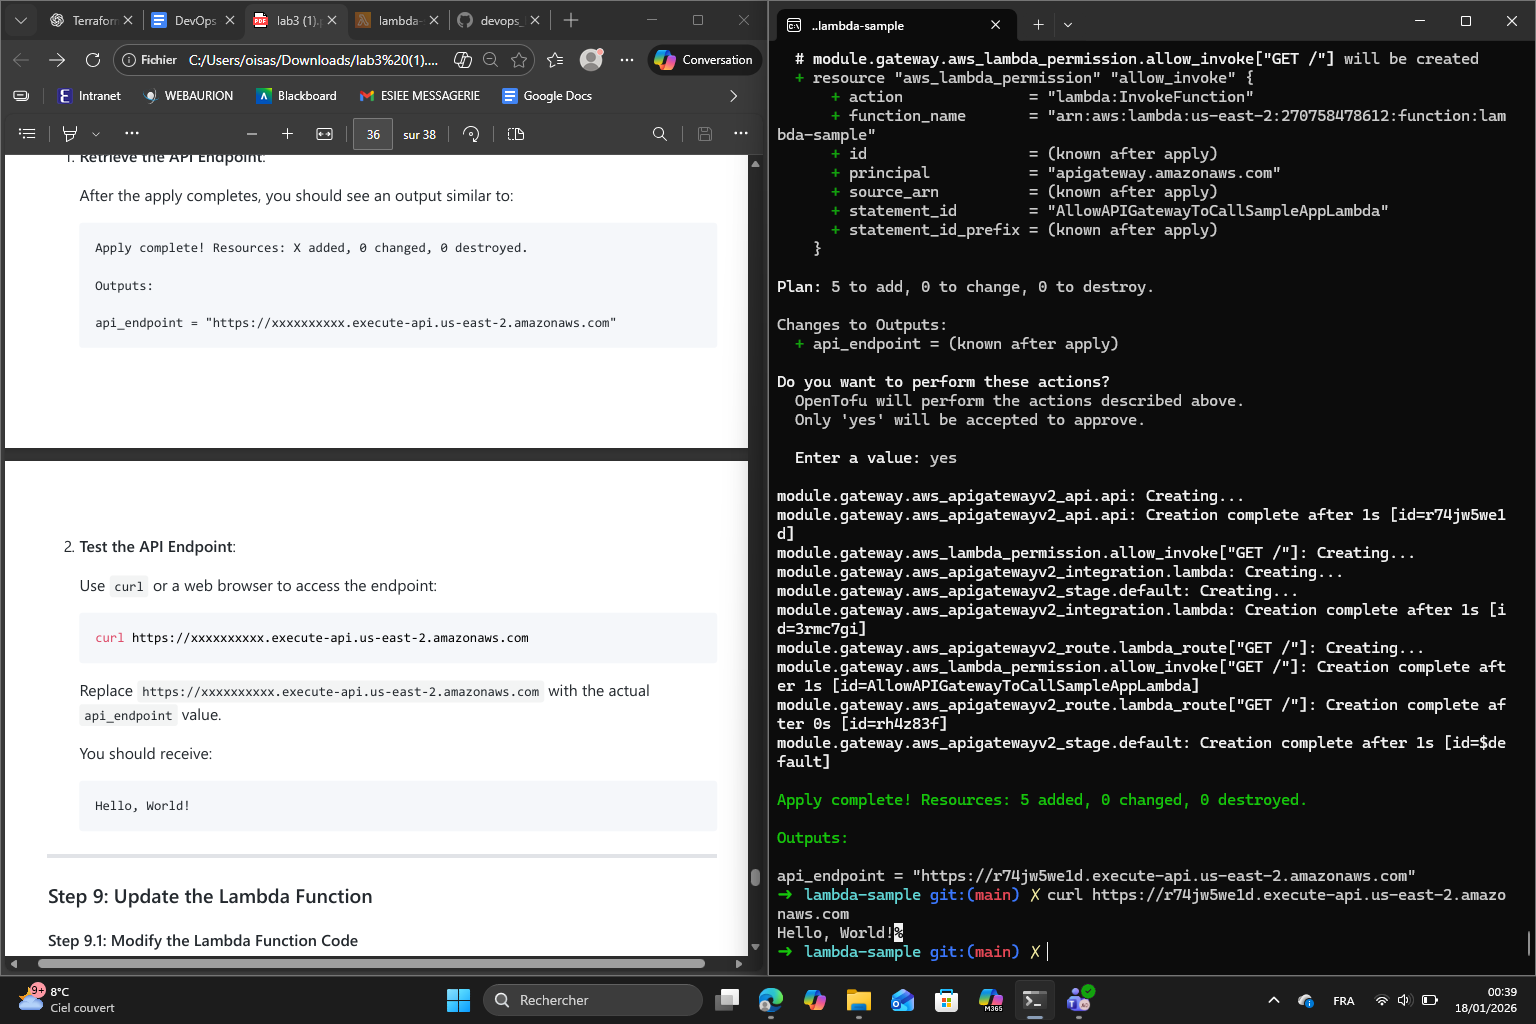
In the 3 following steps, I configured the API Gateway to trigger the Lambda function which makes it accessible via HTTP. Using OpenTofu, I added an api-gateway module to the main.tf configuration. This module specifies the Lambda function ARN and defines a route (GET /) to handle the requests.
I also created an output.tf file to capture the API endpoint as an output variable. After applying the updated configuration with tofu apply, the API Gateway was deployed and linked to the Lambda function. Finally all that was left was to test the endpoint using curl and confirm the Lambda function responded correctly which it did :
Finally, I updated index.js to return a new message “DevOps Base!”, applied again and tested the API endpoint again :
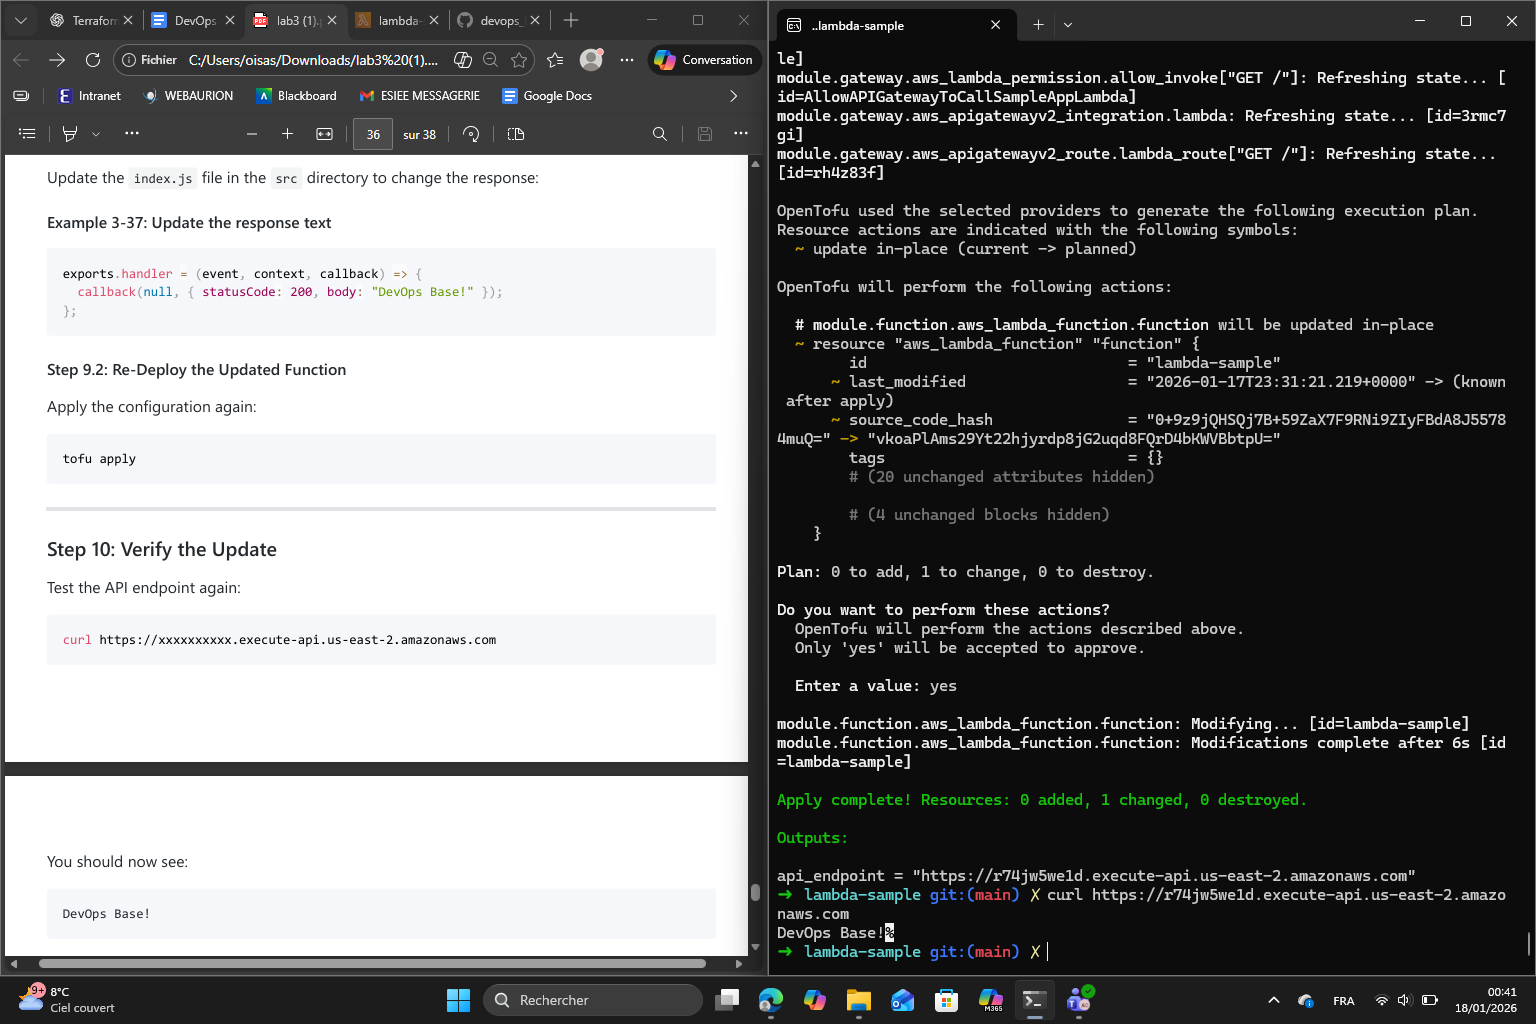
The function returned the right message.