Lab 4 : Version Control, Build Systems, and Automated Testing
Objective: The objective of this lab is to experience version control with Git, collaborating using GitHub, setting up a build system with NPM and writing automated tests using Jest and SuperTest. This will allow us to gain skills that are essential for maintaining a high quality software in a DevOps environment.
Section 1 : Version Control with Git
I did this section very quickly as I am already quite familiar with Git.
Exercise 1 :
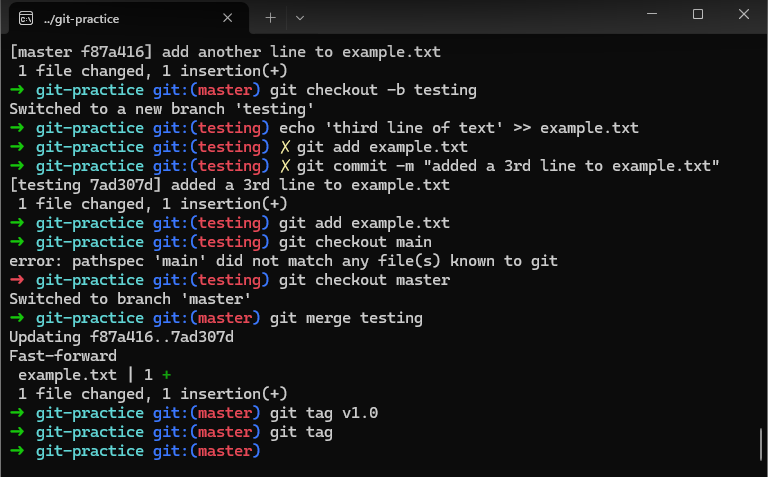
Exercise 2 : the difference between git rebase and git merge is that git merge puts two branches together and adds a “merge commit” to show that they were combined while git rebase moves the changes as if I started from the latest version of the main branch.
Section 2 : Collaborating with GitHub
I skipped this part because I already had an account and already created a devops_base repository for my labs. I am also already familiar with the push and pull requests.
Section 3 : Setting up a build system with NPM
NPM is a tool for managing dependencies, automating tasks and defining scripts in Node.js projects. In this section, we will use NPM to set up a build system for our simple Node.js application, automating both the running of the app and the creation of a Docker image.
After I created the directory structure and created a new app.js, I initialized NPM :
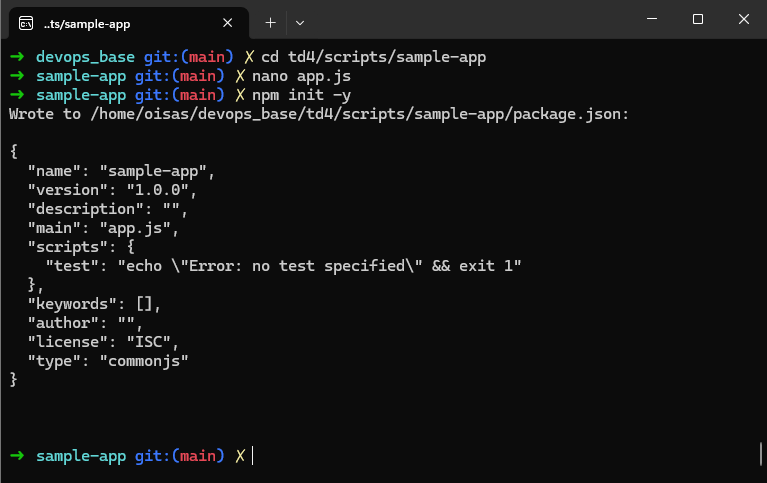
This created a default package.json file which defines the default settings. I edited the package.json to include a start script :
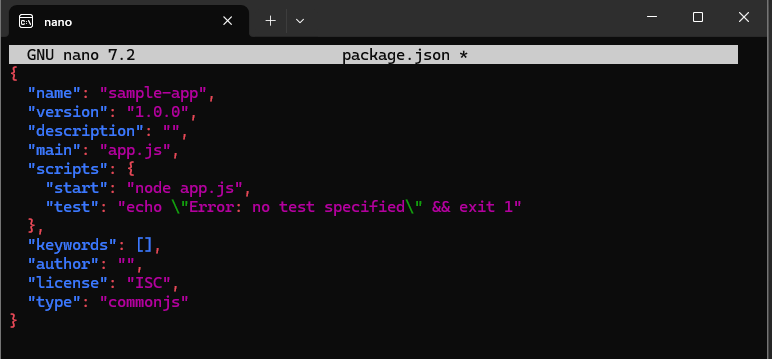
This allowed the application to be run when using npm start :
To containerize the app, I created a Dockerfile. It ensures that the container uses a consistent Node.js environment and runs the app as a non-root user.
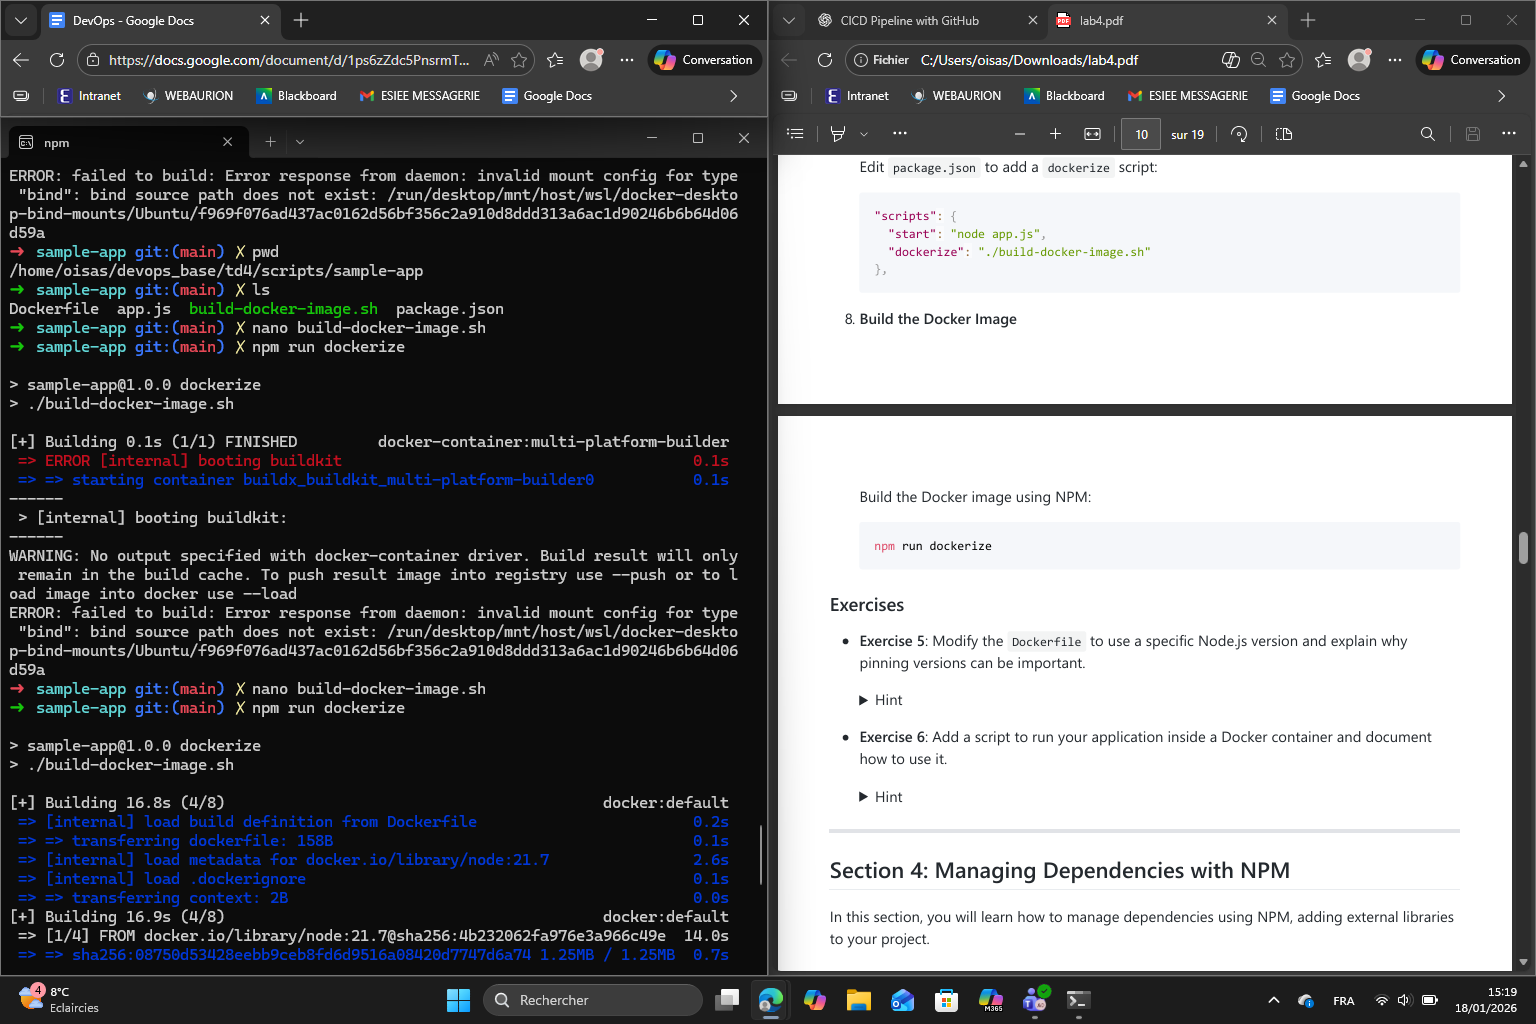
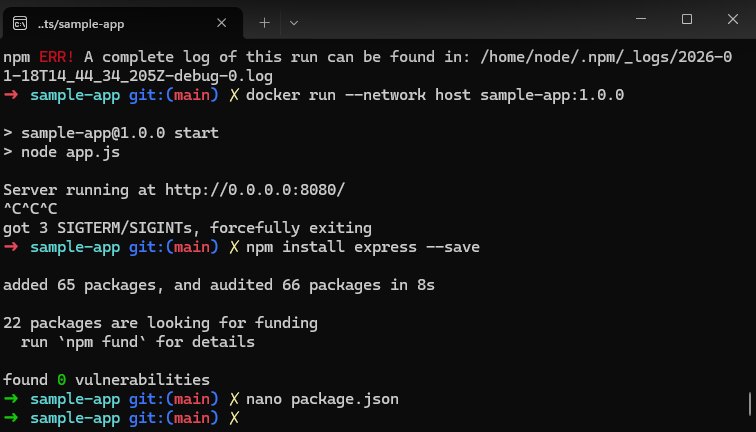
Then I wrote the build script to automate building the Docker image and made it executable. I then updated again the package.json to include the dockerize script, making it easy to build the Docker image using npm, as we can simply build it using npm run dockerize.
However, I had some errors trying to build the Docker image :
To correct this, I changed the build-docker-image.sh by using a regular docker build instead of buildx :
#!/usr/bin/env bash
set -e
name=$(npm pkg get name | tr -d '"')
version=$(npm pkg get version | tr -d '"')
docker build \
-t "$name:$version" \
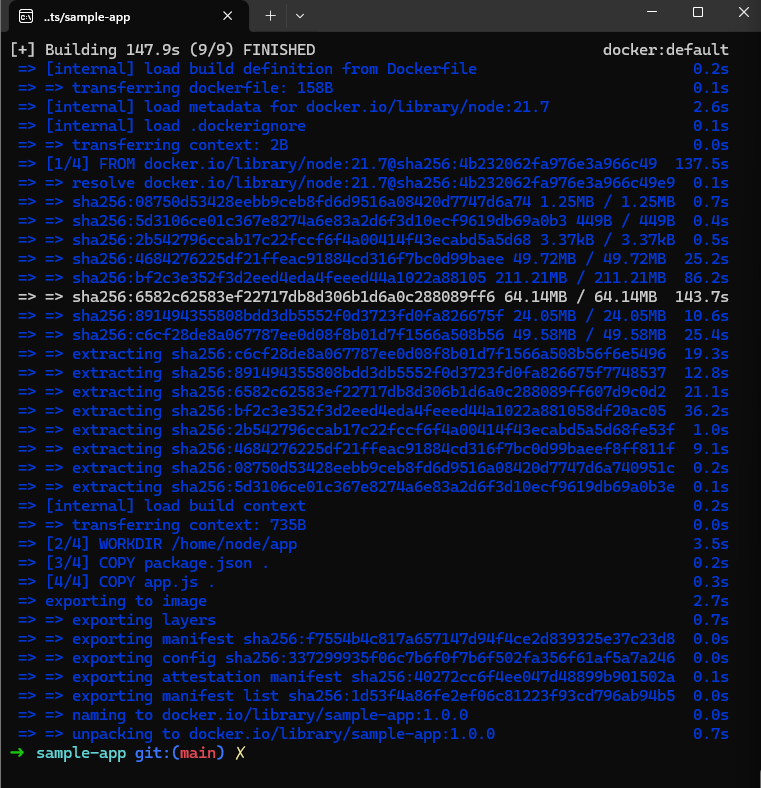
.After that change, the image was built successfully :
Exercise 5 : I changed the version to 18.17.1 and therefore rebuilt the Docker image. Pinning versions is important because this way the application will always use the same version so it won’t break if a new version comes out for example.
Exercise 6 : (I used an AI assistant to guide me through the steps)
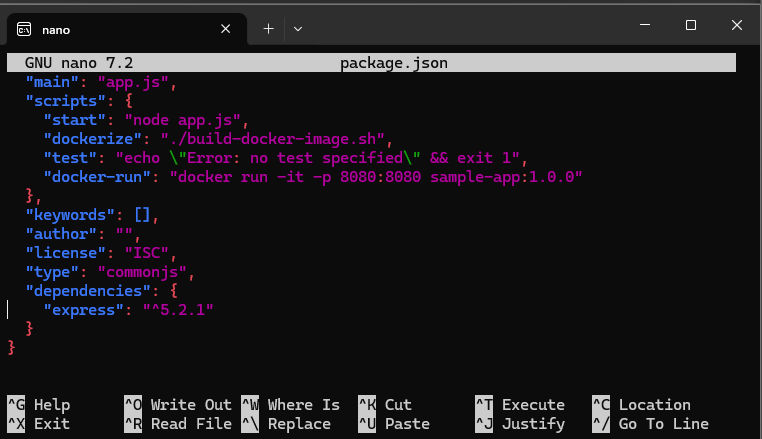
- I added a new script
"docker-run"under"scripts"inpackage.json
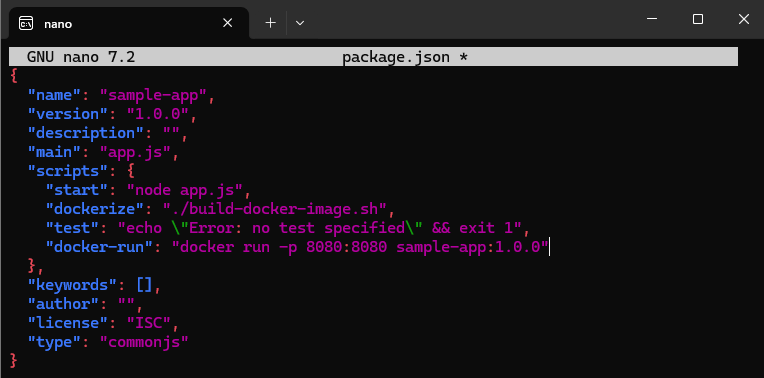
-
Then, I ran the app inside Docker using
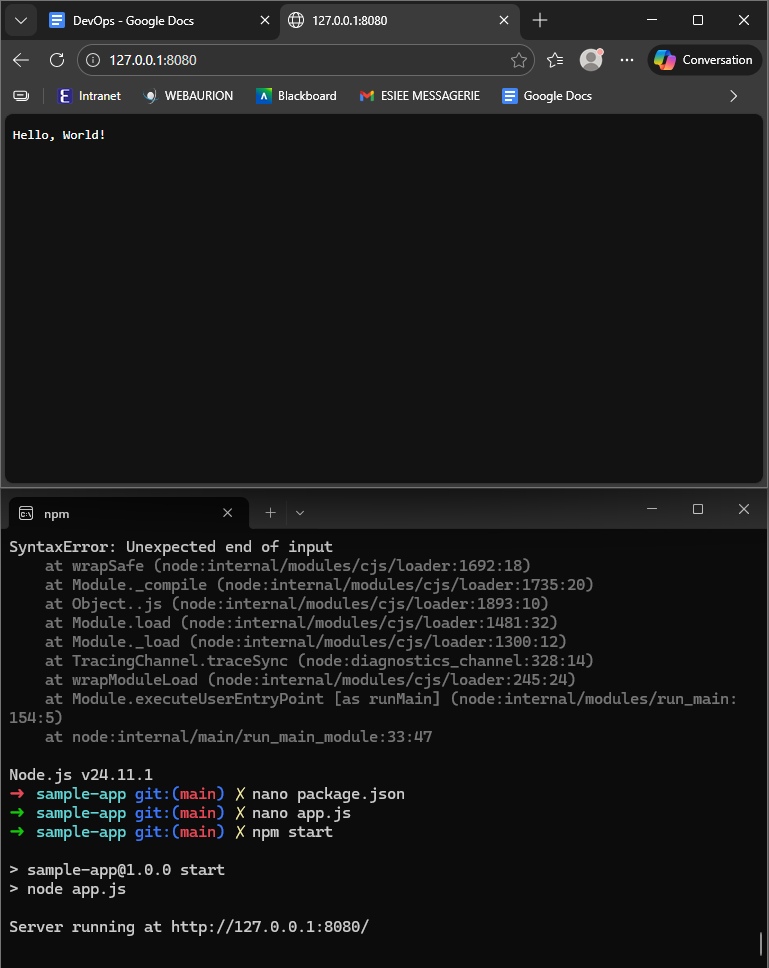
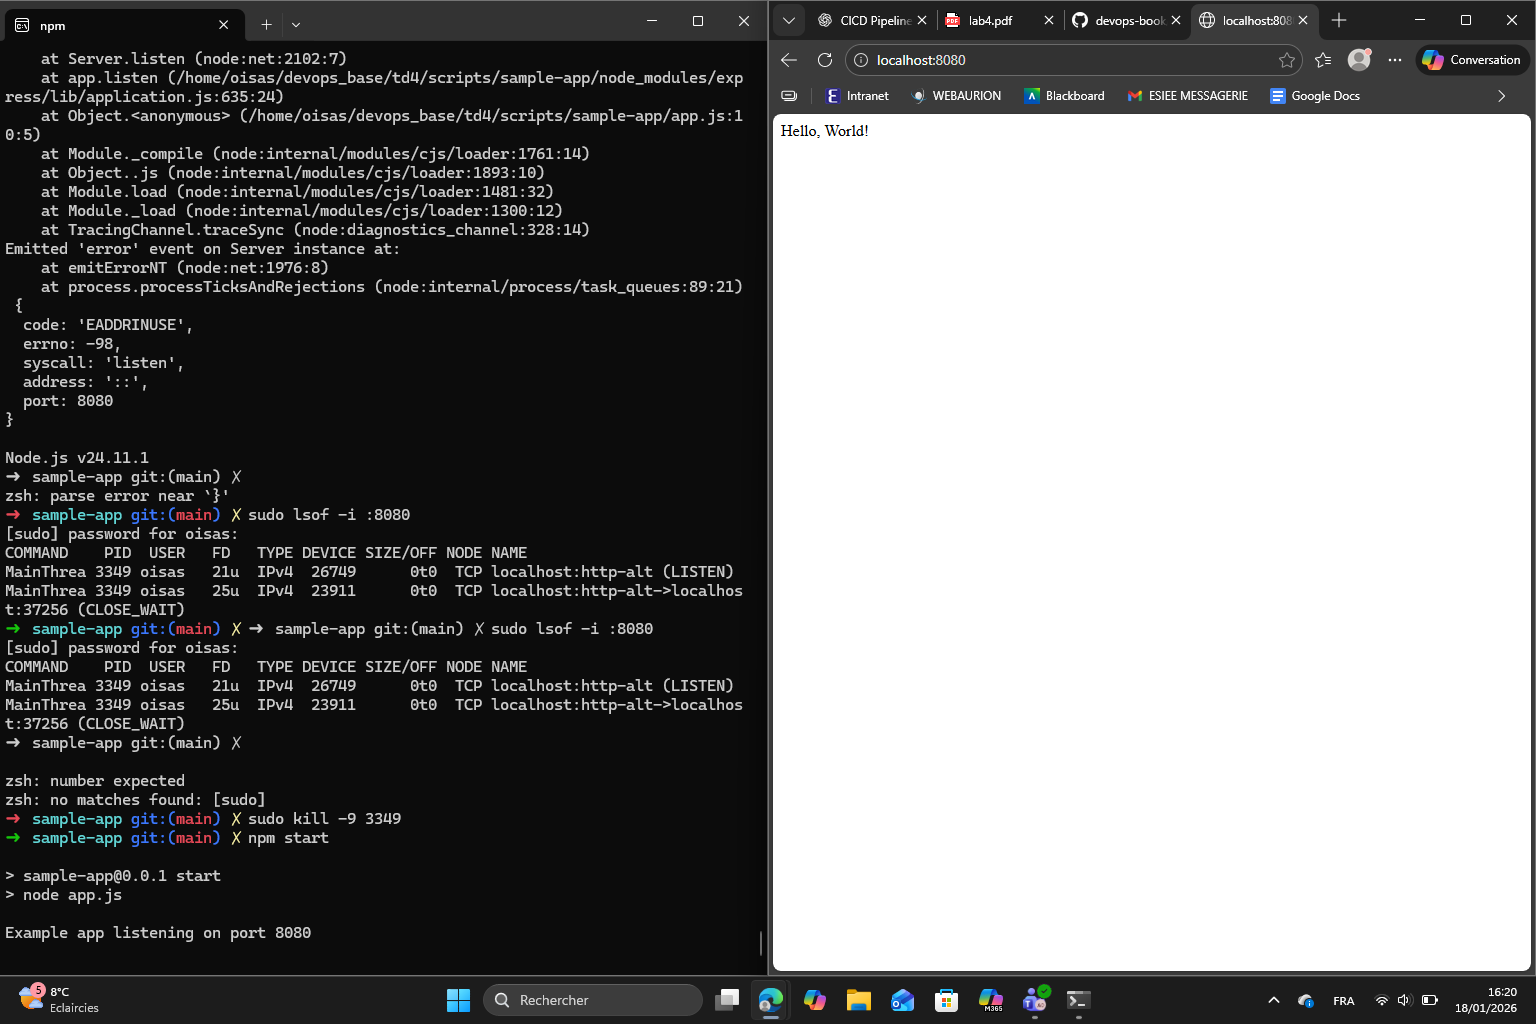
npm run docker-runand obtained the following response :Server running at http://127.0.0.1:8080/ -
I accessed the app in my browser and obtained the “Hello, World!” message
Section 4 : Managing Dependencies with NPM
In this section, we focused on managing dependencies using NPM, which allows Node.js applications to include external libraries while maintaining a reproducible environment.
First, using NPM, I installed Express.js which is a lightweight web framework for Node.js. Then I updated package.json to include Express in the dependencies section :
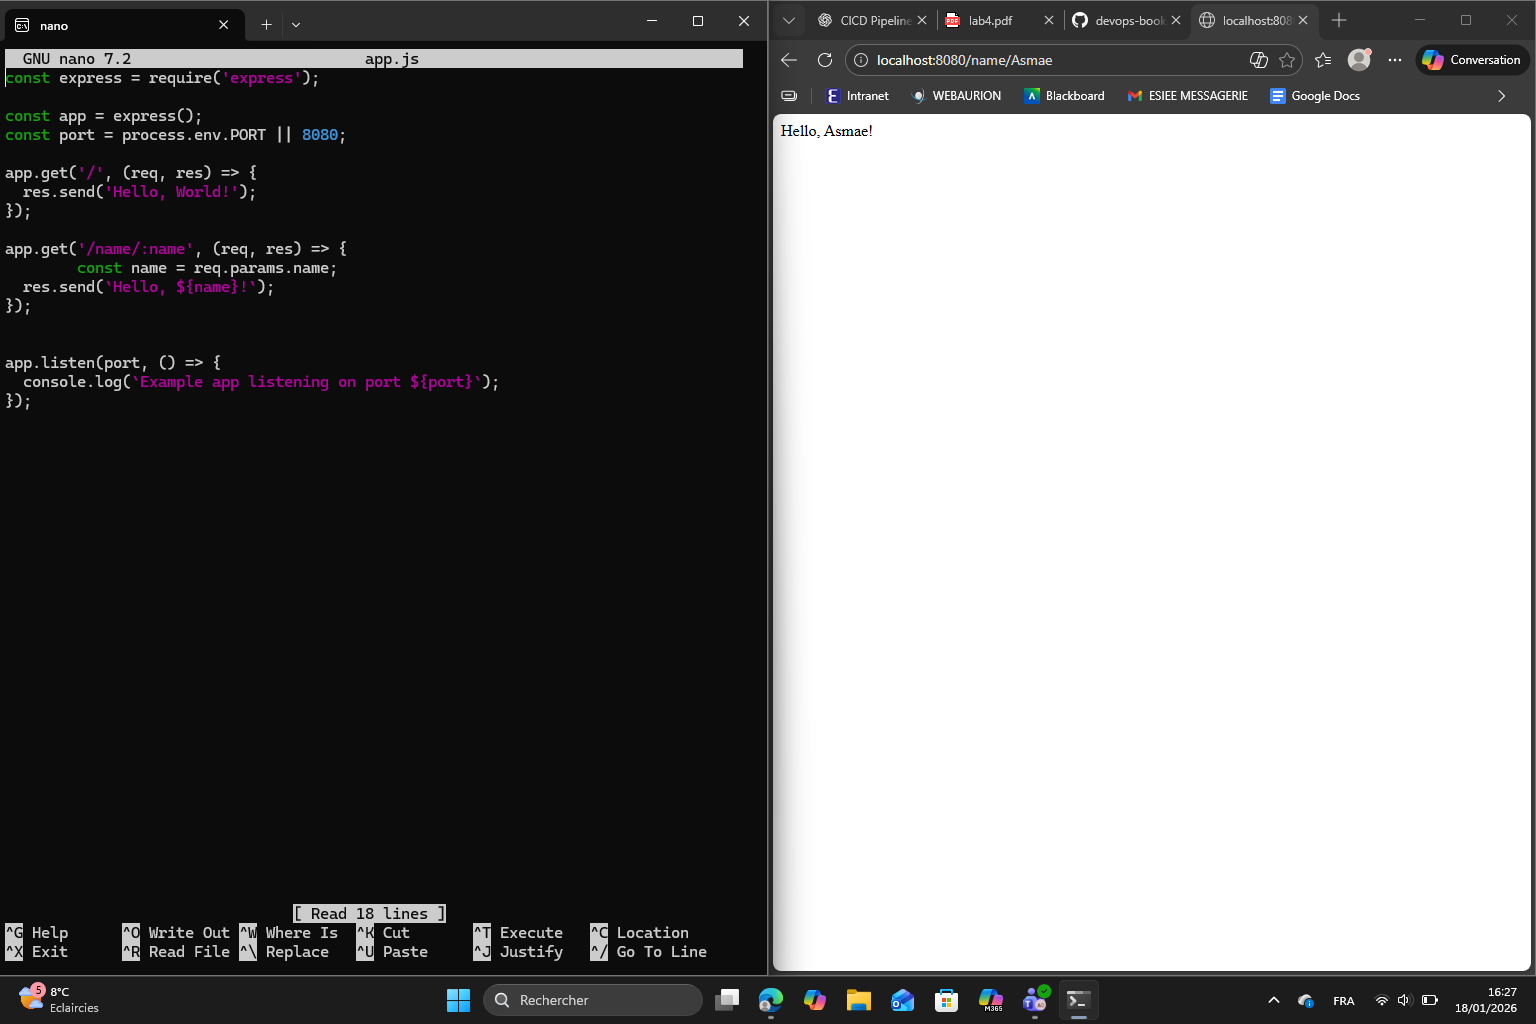
Then I rewrote app.js using Express, updated the Dockerfile to ensure dependencies were installed in the Docker image, rebuilt the Docker image to include the new dependencies and ran the application to verify everything works well :
Exercise 7 :
I added the new Express route with a URL parameter /name/:name that responds with “Hello, <name>!”, which basically allows dynamic responses based on the URL. Here is the result :
Exercise 8 :
The main difference between dependencies and devDependencies is that :
dependencies→ required for the app to run in productiondevDependencies→ only needed during development and testing
Section 5 : Automated Testing
Automated testing is an important part of DevOps as it ensures that the applications behave as expected. It helps to catch bugs early in the development cycle. In this section I used Jest for test execution and SuperTest for HTTP endpoint testing to create automated tests for my Node.js application.
The first step is to install Jest and SuperTest and add them to the devDependencies section of package.json, allowing tests to be run without including them in the production environment. As we mentioned in exercise 8, devDependencies is only needed during development and testing.
Then, I updated the test script to include a test script for running Jest so that tests can now be executed simply with npm test.
Finally, after I finished with the following steps :
- update
app.jsto export the Express app without starting the server - create
server.jsto start the server - update the start script in
package.json - and create
app.test.js
I finally ran the test using npm :
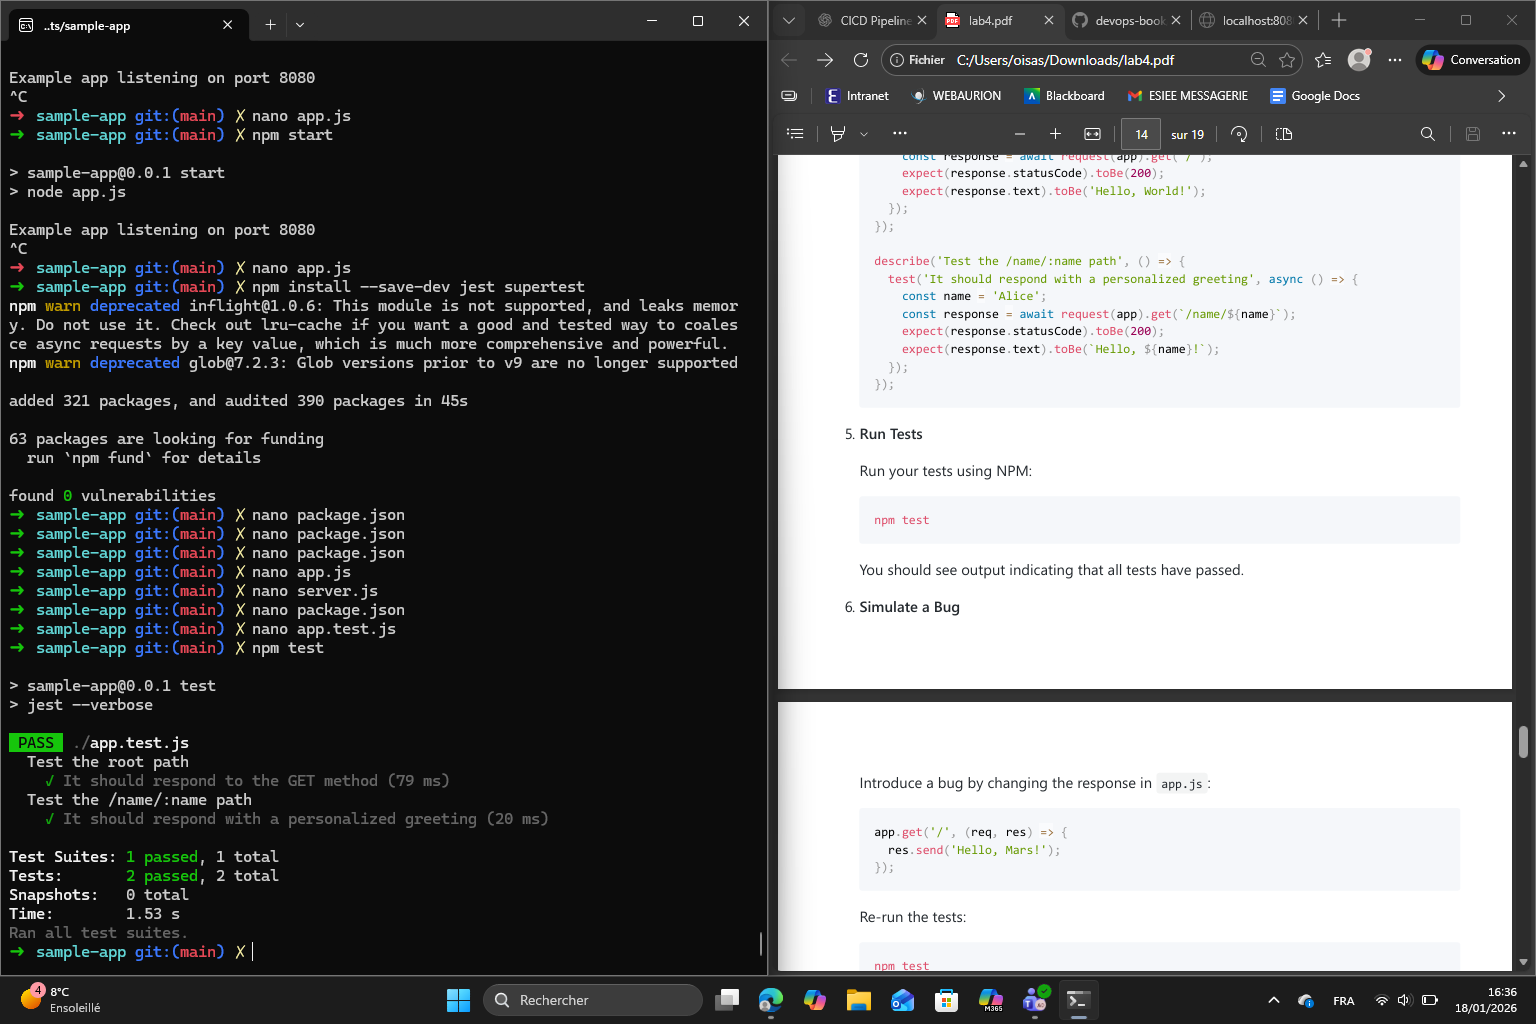
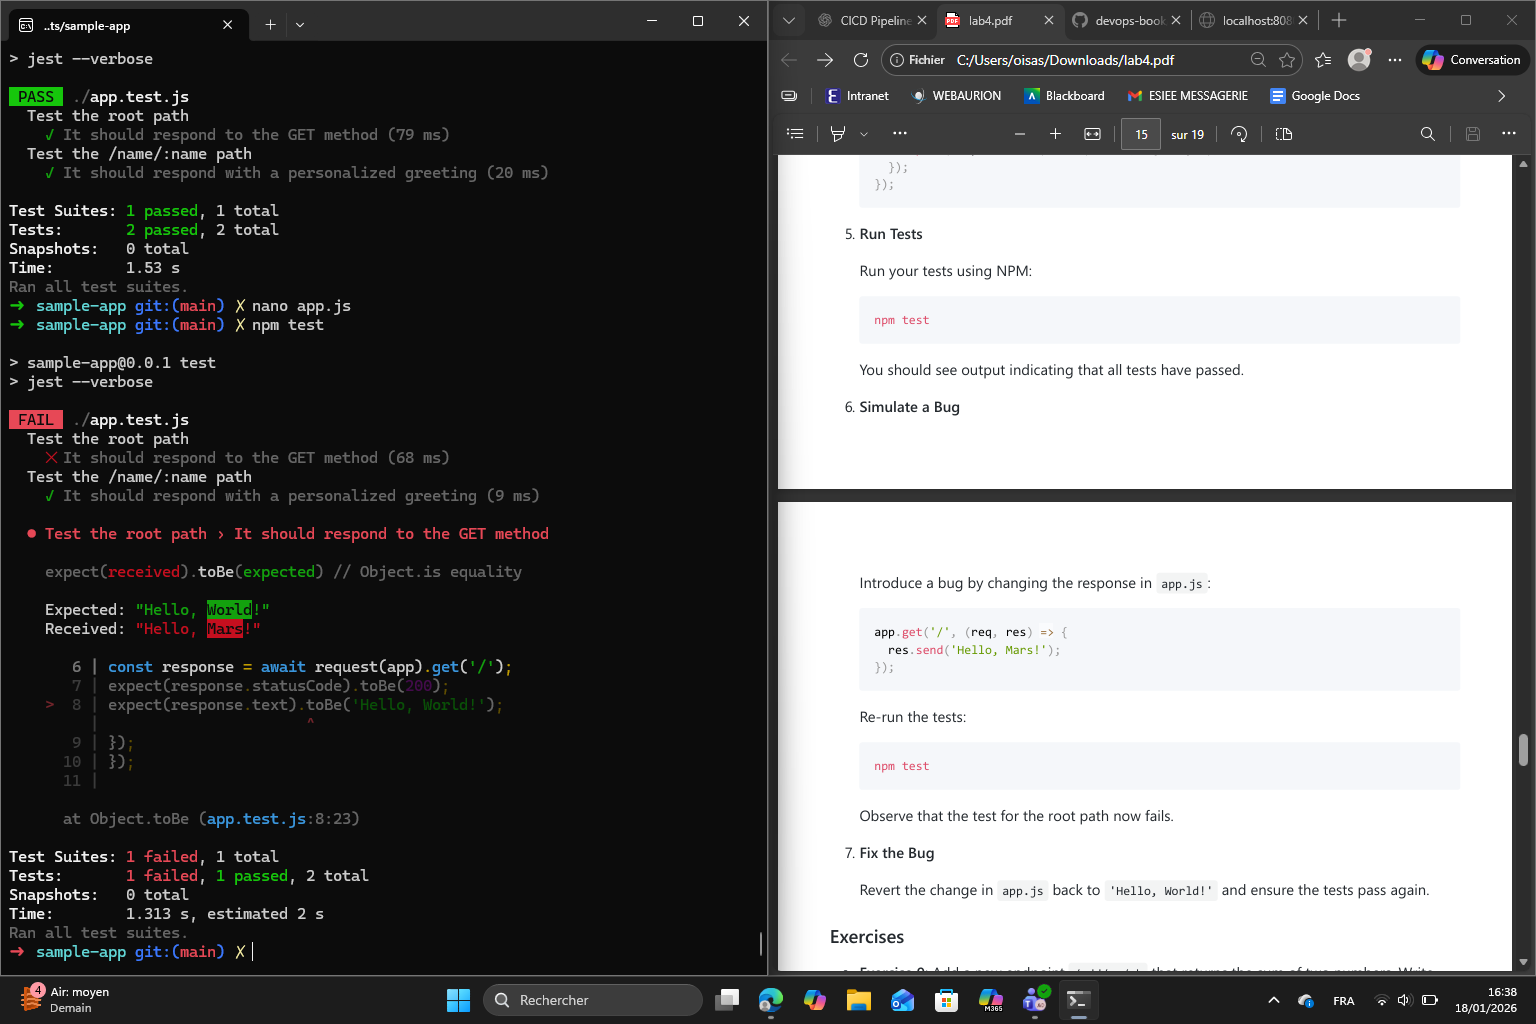
Now the goal is to simulate a bug in app.js by changing the root response. When I run npm test again, it shows that the test for the root path failed, showing how automated tests catch mistakes :
Finally, I reverted the bug back to the original response and after running npm test again, all tests passed which confirms that the app returned back to its correct behavior.
Exercise 9 :
Melchior’s Exercise 9 (about the same, but with tests) :
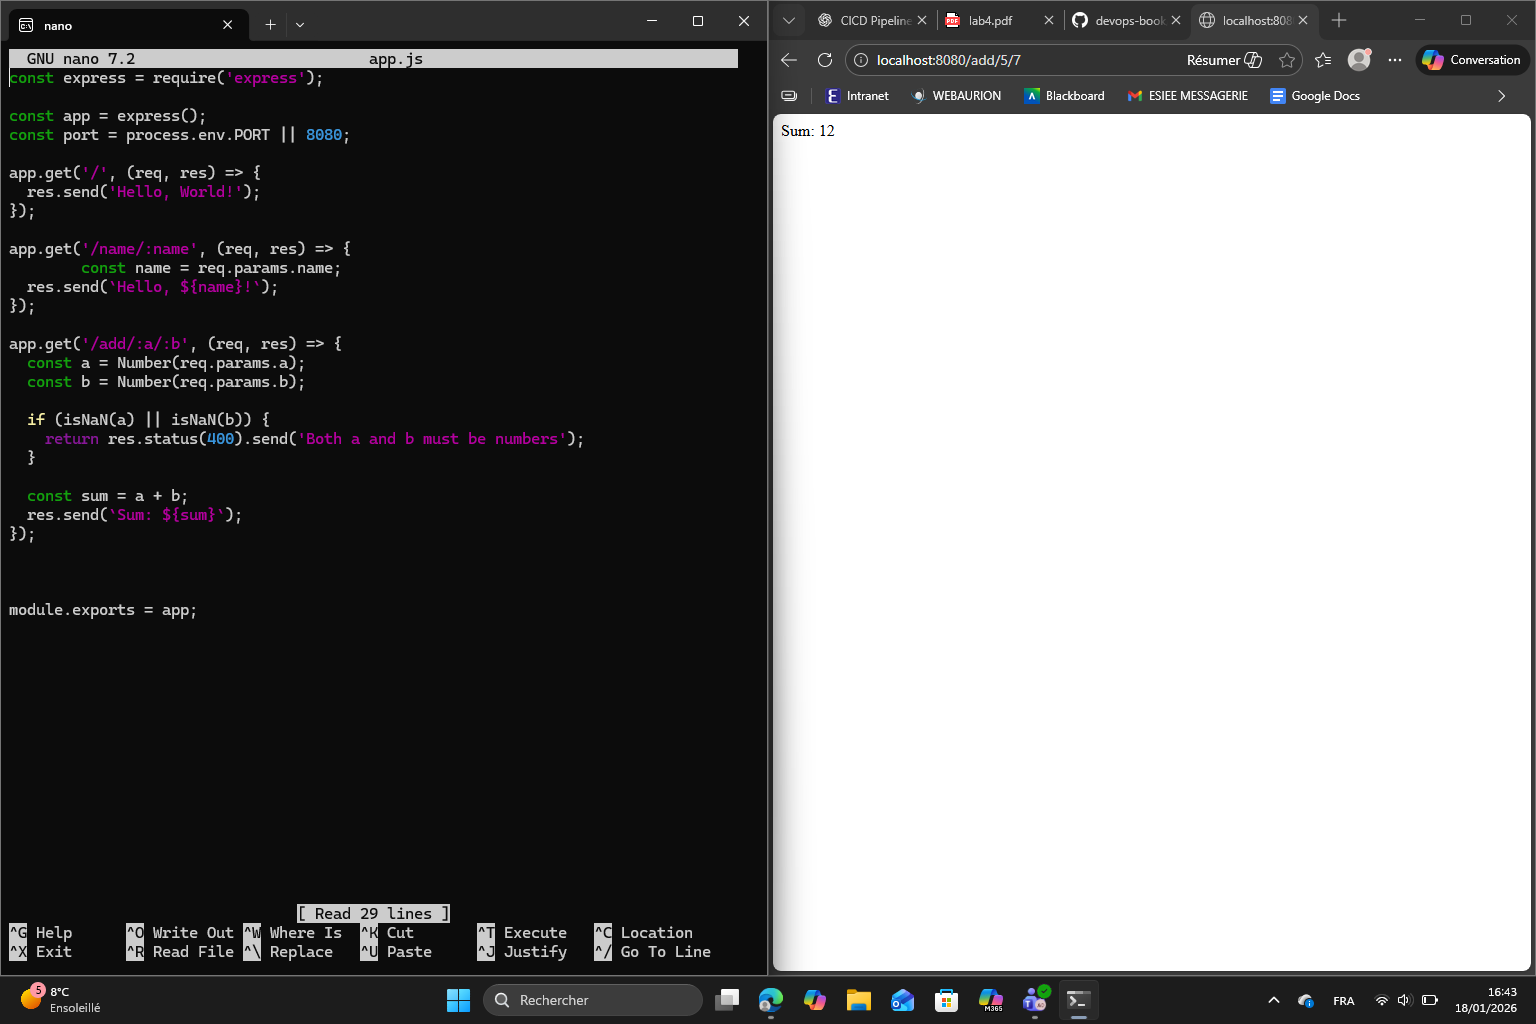
Exercise 9: Add a new endpoint /add/:a/:b that returns the sum of two numbers. Write tests to validate both correct and incorrect inputs.
app.get('/add/:a/:b', (req, res) => {
  const a = Number(req.params.a);
  const b = Number(req.params.b);

  if (Number.isNaN(a) || Number.isNaN(b)) {
    return res.status(400).send('Both parameters must be numbers.');
  }

  res.send((a + b).toString());
});
melchior@MacBook-Pro-de-Melchior sample-app % npm test
> sample-app@1.0.0 test
> jest --verbose
PASS ./app.test.js
Test the root path
✓ It should respond to the GET method (9 ms)
Test the /name/:name path
✓ It should respond with a personalized greeting (1 ms)
Test the /add/:a/:b path
✓ It should return the sum of two integers (2 ms)
✓ It should return the sum of decimals (1 ms)
✓ It should return 400 for non-numeric input (2 ms)
Test Suites: 1 passed, 1 total
Tests: 5 passed, 5 total
Snapshots: 0 total
Time: 0.274 s, estimated 1 s
Ran all test suites.
Exercise 10 : (done)
Melchior’s version:
Adding test coverage :
in package.json we add
"test:coverage": "jest --coverage --verbose"
and
"jest": {
"collectCoverage": true,
"collectCoverageFrom": [
"app.js",
"server.js"
],
"coverageDirectory": "coverage",
"testEnvironment": "node"
}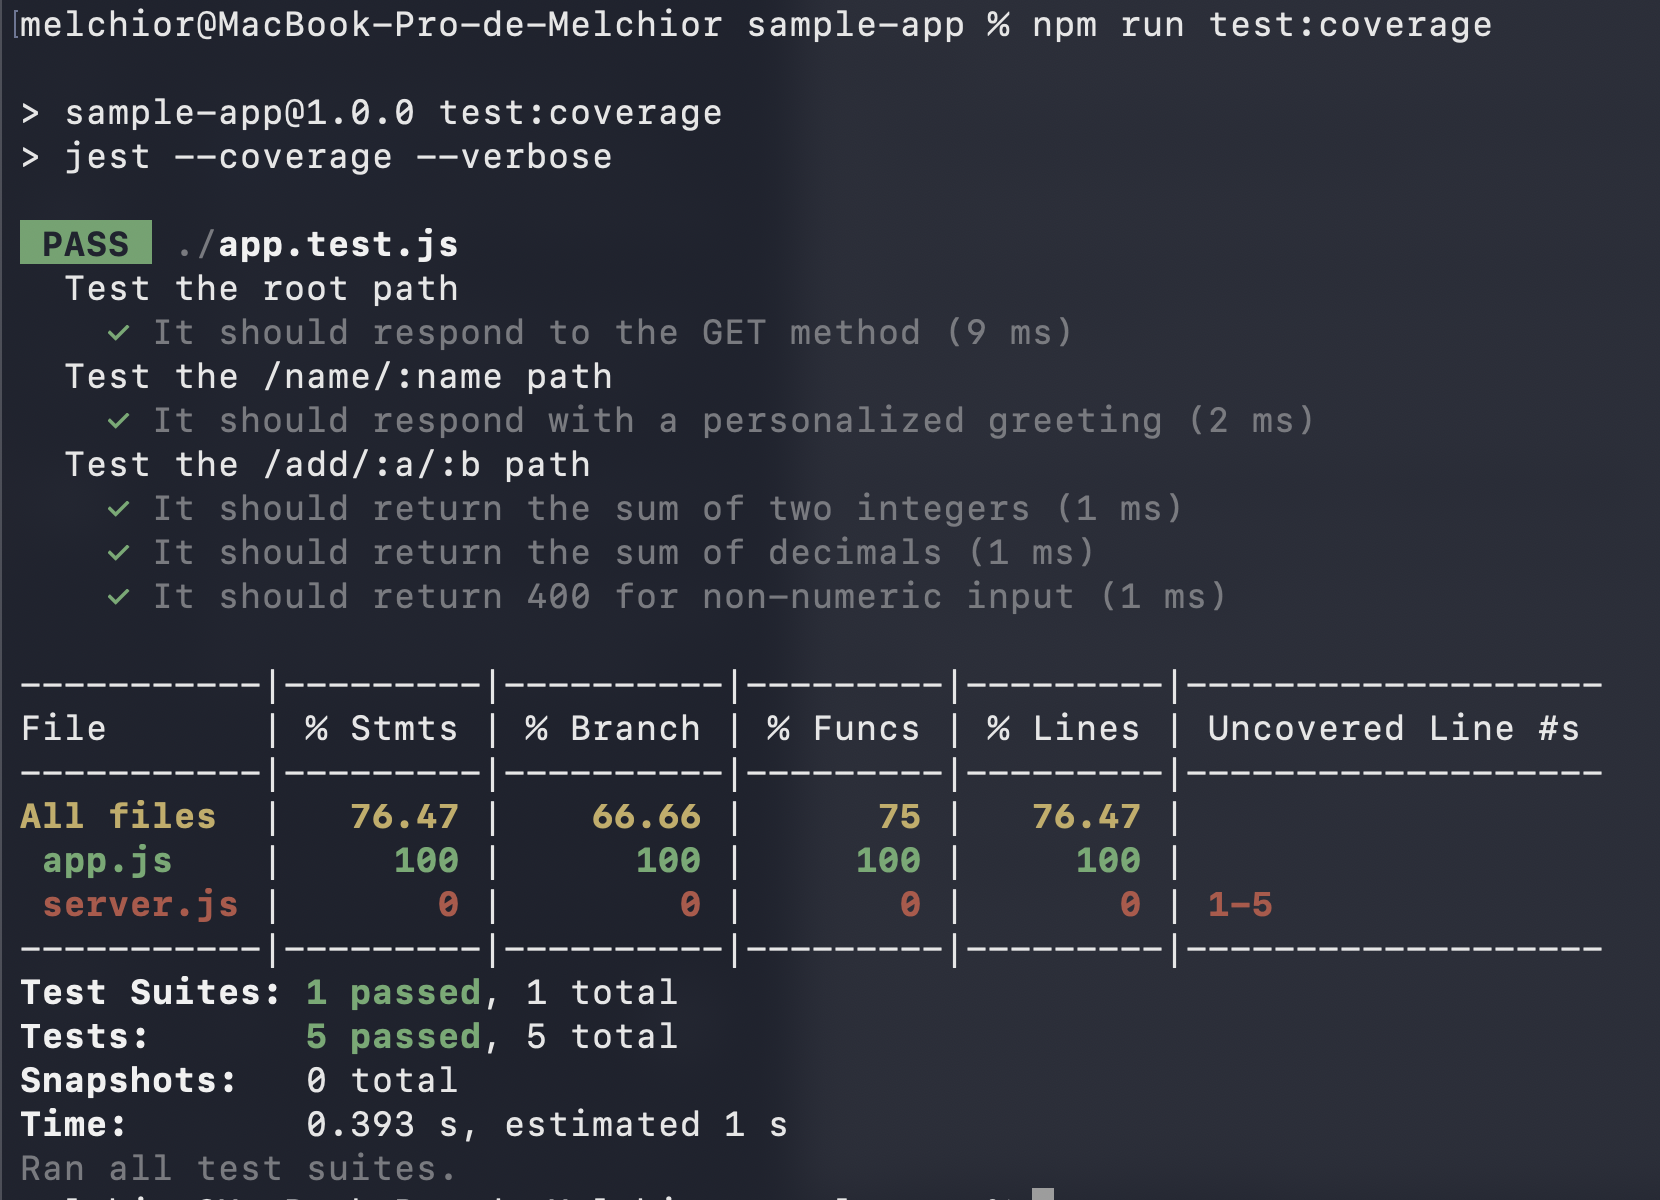 Figure : running test coverage
Test coverage helps show which parts of the code actually ran during tests; if each line ran; if all paths ran for each branch; and if every function got called. It is important because code that does not run can hide bugs. Coverage gives an idea as to where to add tests.
Section 6 : Automated Testing for OpenTofu Code
Melchior’s section 6 :
We use the function from lab 3 (the “ping/pong” one).
tofu test finally returns
melchior@MacBook-Pro-de-Melchior lambda-sample % tofu test
deploy.tftest.hcl... pass
  run "deploy"... pass
  run "validate"... pass

Success! 2 passed, 0 failed.
But only after adding a 10-second sleep before the HTTP request allowed API Gateway time to fully propagate the deployment.
Summary of what fixed it:
- Added time_sleep resource with 10s delay in the test-endpoint module
- The data “http” resource now waits for the sleep to complete before making the request
Otherwise we got a 404 error.
Exercise 11: Modify the test to check for a different response code or body content. For example, update your Lambda function to return a JSON response and adjust the test accordingly
We add a test:
assert {
  condition     = jsondecode(data.http.test_endpoint.response_body).message == "Hello from Lambda!"
  error_message = "Unexpected JSON body: ${data.http.test_endpoint.response_body}"
}
and we return a json in the lambda:
return {
    statusCode: 200,
    headers: { "Content-Type": "application/json" },
    body: JSON.stringify({ message: "Hello from Lambda!" })
  };
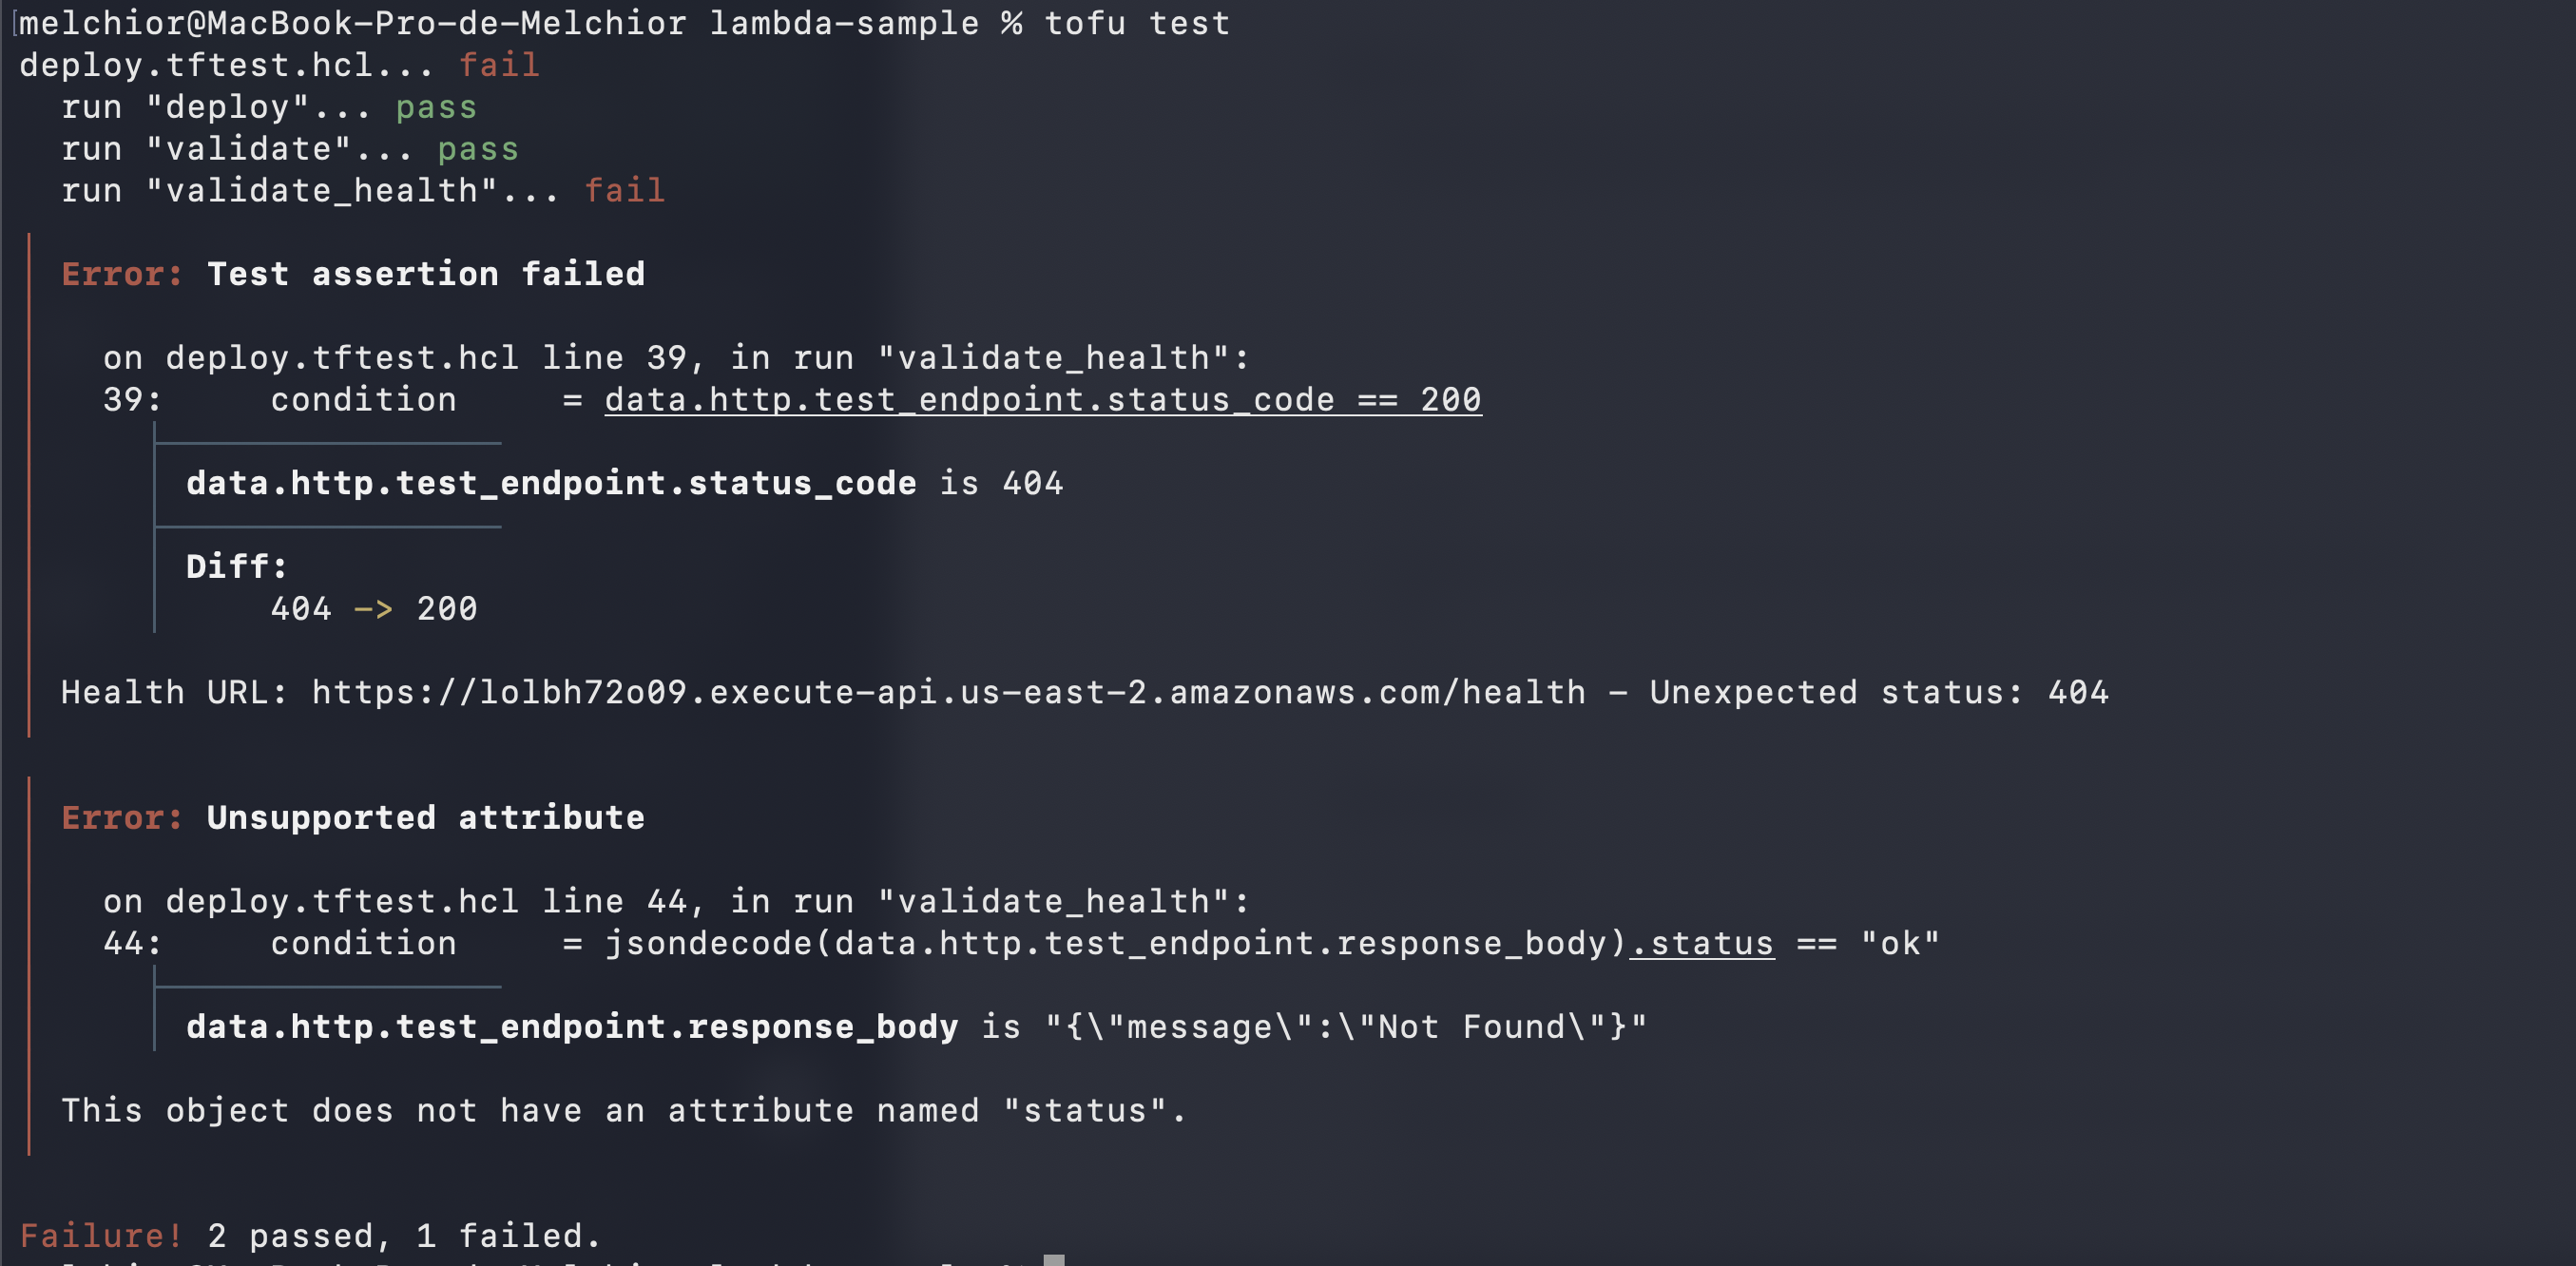
Exercise 13: Refactor one of your existing features using TDD. Write the test first, watch it fail, implement the feature, and then verify that the test passes
Added a failing TDD test for /health: new validate_health run in deploy.tftest.hcl calls the endpoint, requires HTTP 200, status == “ok”
result:
after implementing: index.js:
  if (path === "/health") {
    return {
      statusCode: 200,
      headers: { "Content-Type": "application/json" },
      body: JSON.stringify({ status: "ok" })
    };
  }
melchior@MacBook-Pro-de-Melchior lambda-sample % tofu test
deploy.tftest.hcl... pass
run "deploy"... pass
run "validate"... pass
run "validate_health"... pass
Success! 3 passed, 0 failed